I love filling the walls of my house with framed pictures. Such a simple thing makes a house instantly feel more like a home. With two little ones, there is never a shortage of great photos, whether they are staged or candid, but it’s sometimes the cost of all the frames that holds me back from hanging more.
Often times I’ll find a sale at my local craft store, but it always seems that by the time I’m there, the pickings are slim. There are just a few, very simple frames left, usually either basic black or brown. Since I’m not willing to shop at another store, and thereby spend at least twice the money, I set out to create a way to make these frames more my style.
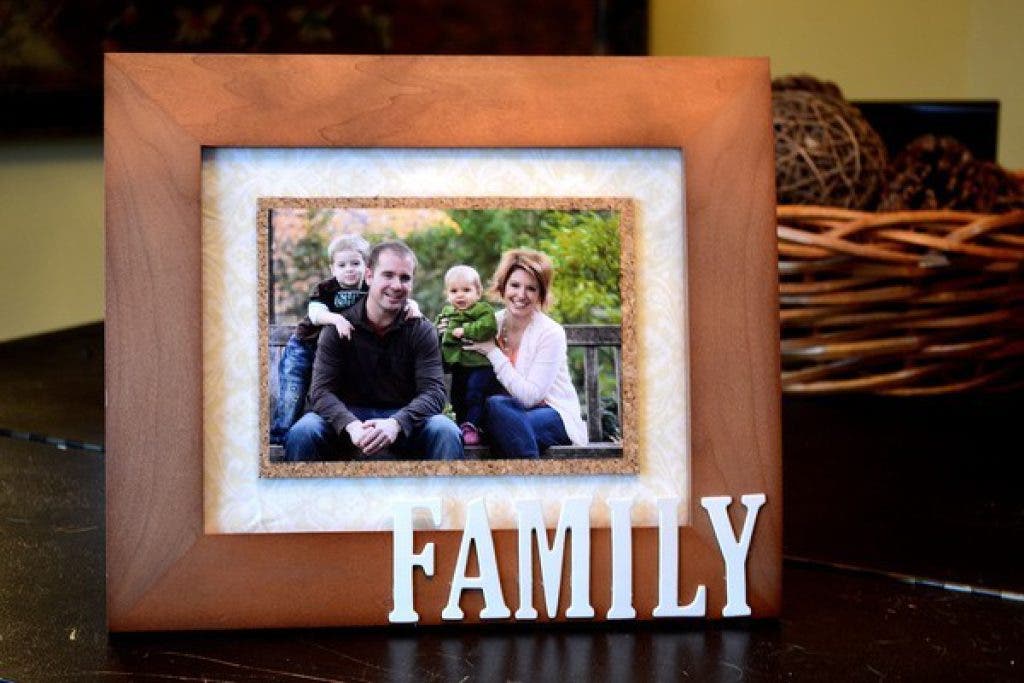
With a few supplies, and sometimes scraps, from my craft room, I was able to turn a simple, brown, wooden frame into a showcase, highlighting a recent family photo taken on the campus of Yale.
Find out what's happening in The Haddams-Killingworthfor free with the latest updates from Patch.
Materials:
- Picture Frame & Picture
- Cotton Batting
- Fabric
- 1 Cork Tile
- Chipboard Letters
- Spray Adhesive
- Ruler & Razor Blade Cutting Tool
- Scissors
- Glue
- Cardboard (Some frames come with a heavy cardboard insert, some do not.)
Directions:
Find out what's happening in The Haddams-Killingworthfor free with the latest updates from Patch.
- Remove the backing, any inserts, and/or glass from your picture frame. (Because of the depth of the cork mounted to the fabric, the glass cannot be placed back into the frame. Safely discard of it.)
- Cut a piece of cardboard the exact size of the inserts and backing of your frame. (Some frames come with a heavy cardboard insert, and some do not. Your frame may have come with an insert heavy enough to mount your cotton and fabric to, in which case, you can skip this step.)
- Using spray adhesive, adhere the cotton batting to the cardboard. Trim the batting to the exact size of the cardboard.
- Again, using spray adhesive, now adhere the fabric to the cotton backing. This time, trim the fabric ¼” larger all around than the cardboard backing.
- Using a ruler and razor blade cutting tool, carefully cut a piece of cork tile ¼” larger all around than your picture. (For example, my picture is a 5 x 7. I cut the cork 5 ½” x 7 ½”.)
- Center and mount your picture to the cork tile using spray adhesive.
- Glue this entire unit to the center of your fabric-covered cardboard, and place this piece back into your frame. Replace whatever backing your frame came with, and secure it in place.
- Glue chipboard letters to the bottom right corner of the frame.
- ABOUT THE AUTHOR: Nikki McGonigal is a wife, mom, and die-hard crafter. She loves sharing her crafty skills with others, and believes that anyone can “go handmade!” Give her ideas a try, and feel free to ask questions along the way. Fore more projects, ideas, and tutorials, visit her blog,www.NikkiInStitches.Wordpress.com. You can reach her at nikkiinstitches@gmail.com.