Health & Fitness
Dazzle you Friends with Homemade Cider
The good news is that making cider is very easy. Plus, it does not require a lot of expensive equipment.
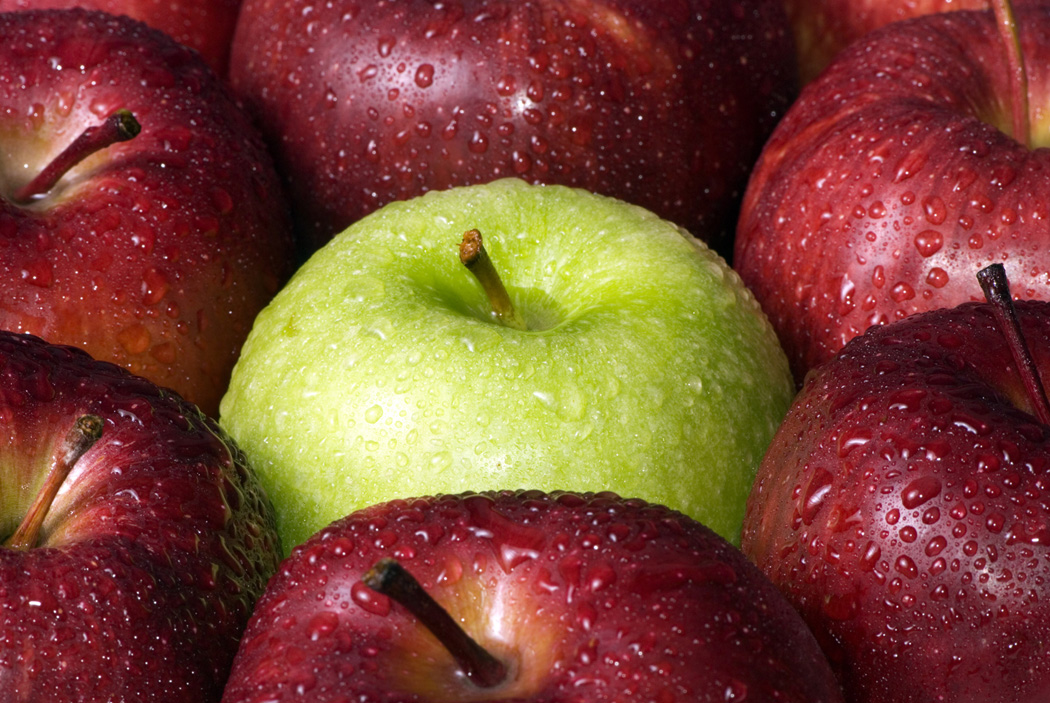
Want to dazzle your friends? Serve them your own homemade cider.
Just to be clear, I am talking about cider you ferment! Sometimes it’s called hard cider because it’s alcoholic. The good news is that making cider is very easy. Plus, it does not require a lot of expensive equipment.
Make cider in three easy steps: Adding yeast to your apple juice; waiting while the yeast does its thing; and back-sweeting, if desired.
So what kind of apple juice do you need?
The short answer is unfiltered apple juice. Pasteurized apple juice works just fine. If you have an automatic juicer, you might want to try using fresh apples. While any type of apples will do, some folks like to use several different varieties.
Find out what's happening in Decatur-Avondale Estatesfor free with the latest updates from Patch.
To keep equipment costs to a minimum, I recommend using one gallon of apple juice. I’ve used the store brands (about $7.00) from Kroger and Publix with good results.
Add Wine Yeast to Start the Magic.
So, you have a gallon of unfiltered apple juice, what’s next? At this point, you can get creative. Add a cinnamon stick for an extra zing or add sugar for an extra strong cider, for example. No matter what extras you add, you also be adding some yeast. You’ll want to use a half-packet of dry wine yeast (about $1.00). Bread yeast just won’t do. To add the yeast to your juice, simply open the packet and sprinkle about half of it on the juice.
Find out what's happening in Decatur-Avondale Estatesfor free with the latest updates from Patch.
Next comes the tricky part of the process. Ideally, you’ll use an air-lock and bottle stopper (about $4.00) to cap your gallon container. Placing a clean cloth over the container’s opening will work while the juice is undergoing active fermentation. Once the fermentation stops, you can cap it with a standard cap. However, if you want to do it like a pro, you’ll need the air-lock and bottle stopper. A word of caution: fermentation produces carbon dioxide (CO2) which will cause an airtight container to burst if there is not a way for the CO2 to escape.
Find a Cool, Dark Place.
Store your container in a cool, dark place until your cider clears up, usually about 6 to 8 weeks. Once you like the clarity of cider carefully transfer it to another container, leaving behind any sediment that has fallen to the bottom of your jar. At this point, you have a still (non-carbonated), dry cider. If you want a sweeter cider, add some (unfermented) apple juice to it. Carbonating your cider requires several other steps and additional equipment, which go beyond what we can cover in this post.
For the Real Fun: Share it!
For the real fun: Sit back, relax and enjoy a chilled glass of your own homemade cider. Better yet, share it with friends.
For more information about making cider, please call Wine Workshop and Brew Center at 404-228-5211, or visit our website at www.wineworkshop.net. -- By: Marcia Langford Perez