Health & Fitness
Quick and Easy Fashionable Nail Art
Be the first to have fashionable nail art that looks like they were professionally done without the expense.

I love the holiday season when families get together. This Thanksgiving, my sister and her family were able to come and visit and my daughters favorite thing to do with their cousins, who live in Arkansas, is to polish their nails together.
There is nothing so inspiring then to watch these little girls creating nail art on their own. My 11-year-old niece, Andrea, showed me how to do swirls on my nails. I loved the way they looked and so I used a friend to repeat the process on my own. I couldn’t believe how easy it was to do and how great the nails look after.
Would you like to be the first in your groups of friends to have fashionable nail art that looks like they were professionally done without the expense?
Find out what's happening in Bolingbrookfor free with the latest updates from Patch.
Just give me five minutes and I will show you how.
You will need:
Find out what's happening in Bolingbrookfor free with the latest updates from Patch.
- Small glass cup with wide rim (like a votive holder)
- Water
- Whatever nail polish you would want to use (two or more)
- Toothpicks
- Masking tape
- Nail polish remover
- Cotton swabs
- Clear top coat
Now follow these simple steps:
- Protect the edges of your finger nails from nail polish.
- Cover the edges around the nails with masking tape making sure you do not cover your nail. This will make cleaning your nails easier. Don’t sweat it if you do get nail polish on your skin. The nail polish on your skin will come off in the shower.
- Fill your wide-rim cup with room temperature water. Make sure to fill it about two-thirds of the way full. You will need enough empty space so that when you put your finger in the cup, the water and nail polish don't spill.
- Determine what color nail polish you want more as a background swirl. Add a drop of that nail polish in the center of the cup. It should be floating.
- Add a drop of the second nail polish to the center of the first drop. You can do this step as much as you want to get your desired results. We only did steps three and four twice.
- With the toothpick, you can start swirling the nail polish in the water. Be gentle and careful not to swirl so much that it becomes one color.
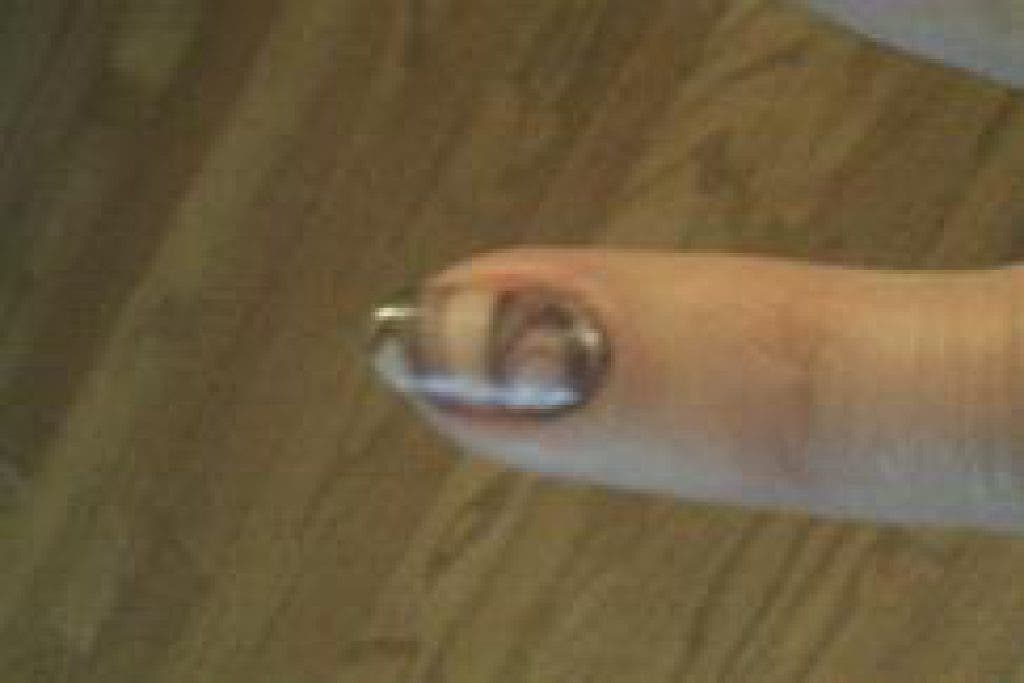
- Dip your taped finger on the swirls design horizontally in the cup with the nail flat on the water. Wait a few seconds making sure you entire nail is polished. Lift the polished nail out carefully.
- Take off the masking tape from surrounding your skin. If you have more nail polish on your skin, you may use a cotton swab to wipe it clean with nail polish remover or wait for it too come off in the shower.
- Using the toothpick to collect the remaining nail polish from the water left in the cup. Disregard the extra nail polish.
- Wait until swirl design is completely dry before applying a clear top coat.
- Repeat these steps for all your other nails.
There you have it. Enjoy your beautiful results!
To view the different color polishes available visit: www.youravon.com/magalymcvey