Health & Fitness
Local Beauty Found in Broad Daylight - 9 Tips to Improve Your Landscape Photography
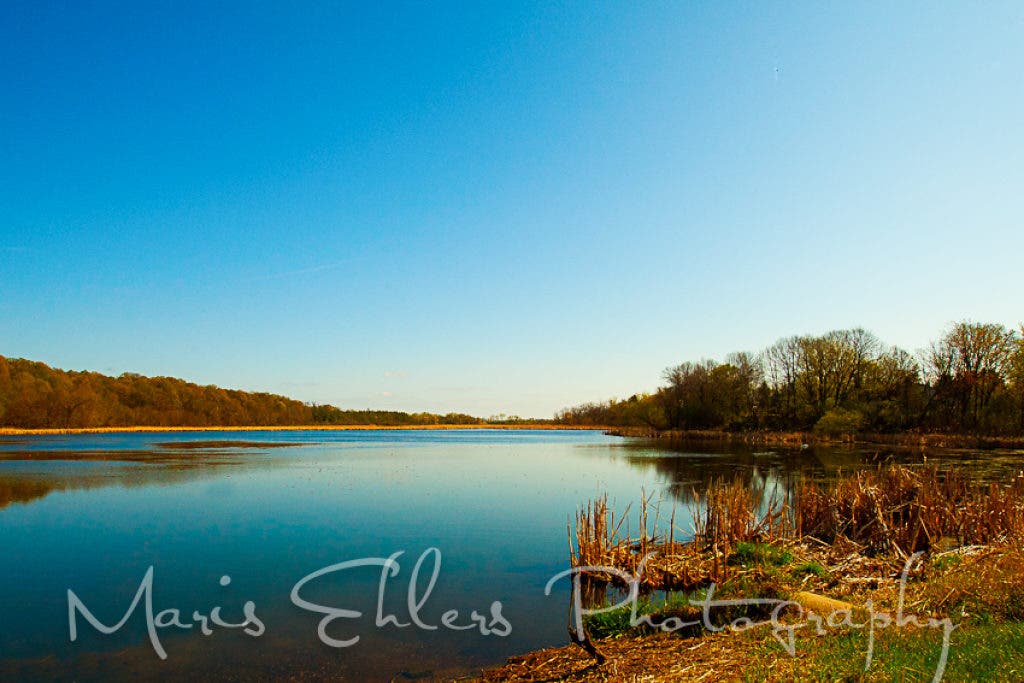
Local photographer Maris Ehlers shares 9 tips for better landscape photography.
We are on assignment this week, taking some landscape photos for the City of Hanover's new website that is currently in development. We have a list of local locations that we'll be visiting over the course of the coming days and evenings, and will be trying to capture them at the "ideal" time - if possible.
Admittedly, I do not see myself as much of a landscape photographer. I would actually say that I am NOT "one" with nature. And I might even be so bold as to say that I am completely okay with that.
The premise of landscape or nature photography seems so simple. You find a "neat" spot and take a picture. The reality, however, is a bit more complicated than that. Lighting has so much to do with creating a lovely landscape image. It does for portrait photography too, but photographers can do so much to control lighting for portraits (either indoors or out) with a variety of tools and tricks to allow you to shoot when and where you want. The fact that landscapes are typically composed of a vast piece of land or space means that in order to get the lighting you want, it may mean coming back at a different time of day, a different day altogether (a sunny day vs a cloudy day or vice versa), or changing your angle and approach. You can, of course, use a variety of filters to help you get the look and saturation that you are looking for.
Find out what's happening in St. Michaelfor free with the latest updates from Patch.
If you enjoy landscape photography, here are a nine other noteworthy tips:
1. Use the highest depth of field possible - while there are certainly exceptions to every rule, the general idea with a landscape image is to have as much of the image in focus as possible. This means using a small aperture setting, which is, in fact, a higher number. For example, for my portraiture work I often use an aperture of f/2.8 - f/4.0. For landscape imagery, I try to get into the f/16 - f/22 range. Keep in mind that when you are working with a smaller aperture for a landscape, you will have less light hitting your sensor, so you may have to compensate for that with a higher ISO setting and/or a lower shutter speed.
Find out what's happening in St. Michaelfor free with the latest updates from Patch.
2. Use a tripod - some people will tell you that a tripod isn't necessary for landscape photography, but I highly recommend it. The lack of movement from you holding the camera will contribute to a sharper image overall, and if you are having to lengthen your shutter speed (lowering your shutter speed), a tripod is essential anyway, especially if your shutter speed is LOWER than the focal length of your lens. The tripod will also make it much easier to be patient and wait for the right time to take your shot. This cannot be overestimated.
3. Find an area of focus - it may not actually seem obvious to you if you are just starting out with landscape photography, but even though your scene may capture several miles of space, you still need a focal point for your image. When someone looks at a photograph, their eyes quickly scan the image to find the most arresting element. If there isn't one, their eyes have no place to "rest". That's not good. It means that there isn't anything in the image to draw them in. Just like a good portrait, a landscape image will have a focal point. Experiment with where the focal point is in your image, and remember it can either be in the front of the scene, middle, back, or off to either side (rule of thirds).
4. Find leading lines and interesting angles - when photographing buildings (or even people in buildings), I often try to anchor my subject with some sort of a leading line from the building itself. This helps "lead" the viewers eyes right to my subject, which is often a bride. Landscapes are no different - winding roads, rivers, treelines, you name it - can all help "lead" to a focal point for your image.
5. Find movement among the stillness - this one can be really tricky, but if you can find it your image will convey it. The sky is a great example of this. If the clouds are moving, use a tripod and a slow shutter speed (you may need to use the B or "bulb" setting which REQUIRES a tripod), and you will be amazed at how a still picture can capture movement. Other ways to capture movement are to photograph wind blowing in the trees, water running down a waterfall or waves crashing on the beach. Keep in mind that the slower shutter speed will mean that you will likely be using a smaller aperture, which means it is very easy to blow out the image entirely (resultig in a white image with blown out detail). This is most likely to happen when shooting in full sun during the most intense hours of daylight. Trying to do this in early morning or evening light is likely to give you the best results.
6. Be a weather watcher - Weather can add incredible detail to a landscape image. Even in portrait work I often have clients that want to book their sessions on sunny days. That's all fine and good, but the bright sun at noon casts long and dark shadows, which can be tricky to work with. Many photographers love the diffused light of an overcast sky. It may mean that your images (portrait or landscape) may not naturally have the vibrancy that a bold sun gives to an image, but smooth lighting can create even lighting which can be very beautiful.
7. Use skylines and horizons - adding a horizon into your image can be one of the easiest ways to improve a landscape photograph. Sometimes it's easy, and sometimes it's difficult to do, depending on where and what you are trying to photograph.
8. Take your time - this was probably the most difficult thing for me to learn AND do with landscape photography, and sometimes still is. I am a mover and a doer, and I have missed many an opportunity for the money shot due to impatience and not waiting for the right moment. Landscape photography takes patience, and you should be willing to wait for the right conditions to get your shot.
9. Find the right light - we've touched on this briefly already, but early morning and evening sun, the light that photographers affectionately call the "golden hours", gives all types of photography a warm, soft golden glow that really can't be beat. Landscape images can benefit greatly from shooting during the golden hours. Not only is the light warm and gorgeous, but the sun is lower and not as intense, and the shadows are soft.
I hope you find these tips helpful and will share some of your favorite landscape photography images with us here on the St. Michael Patch.