Health & Fitness
Composing Your Photo Using the Rule of Thirds
The Rule of Thirds is a photographers rule of thumb.


The Rule of Thirds is a rule of thumb when it comes to composing photos.
But, of course, there's more to the rule than that.
Grab your camera and visualize a tic-tac-toe board positioned across your viewfinder. The object or person you are taking a photo of should be positioned on one of the four intersecting points on the tic-tac-toe grid -- top left, top right, bottom left, bottom right.
Find out what's happening in Nazarethfor free with the latest updates from Patch.
An example of this grid can be seen in the first photo example to the right. The four green dots on this grid signify where you should seriously consider placing a subject in a photo.
Some of you may not even need to visualize the tic-tac-toe board, however. If you read your camera's manual, you may find out that your camera has the option to turn the tic-tac-toe grid on and off. For beginners, you may want to turn this feature on; it may help you better compose your photographs.
Find out what's happening in Nazarethfor free with the latest updates from Patch.
So, again, why is this important?
Well, our first instinct is to position every object or person dead center. While this is not always the wrong way to compose a photo, it isn't always appealing to the eyes.
In my second example, the photo is crisp, clear, in focus and the background is blurred out nicely. There's just one major thing missing: good composition.
What I could have done was position the flower closer to the edge of the frame; allowing for more of that beautiful, blurred out foliage to be in the photo.
Moving on to my third photo example, you should see exactly what I mean by good, appealing composition. I framed my son just to the right -- imagine a green dot on his face -- because I wanted to include some of the bench he was sitting on. When I snapped this photo, I kept in mind that my son, not the bench, was the main subject. I think this adds some character to the photograph.
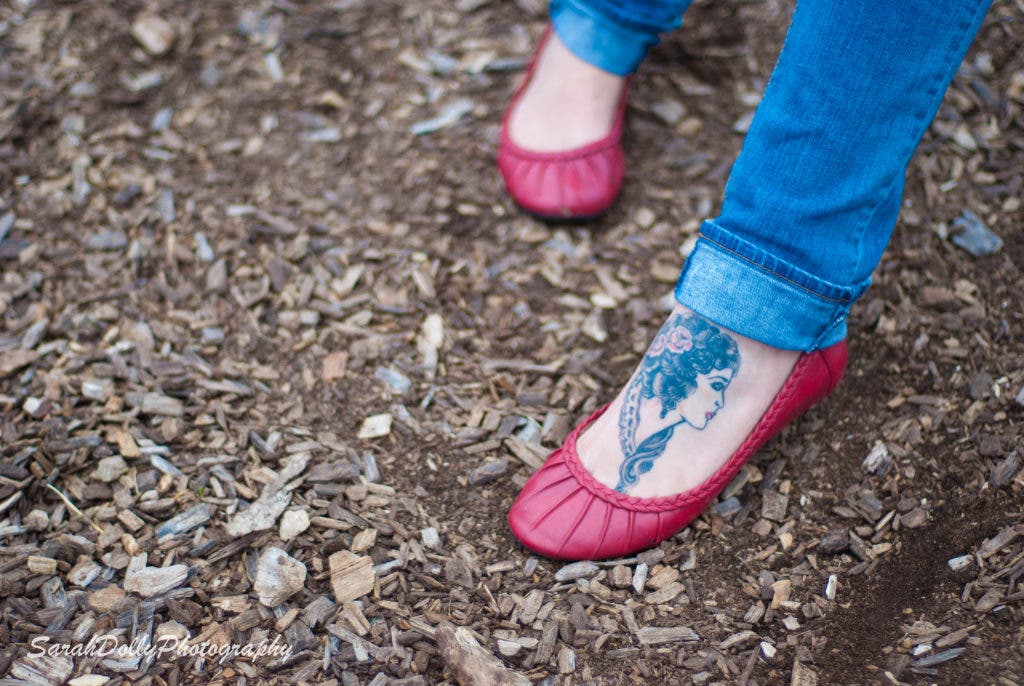
In the fourth photo example, I placed my models feet in the lower right portion of the frame. I personally think this composition gives the photo a more dramatic look, and makes her tattoo "pop."
All of that said, it really comes down to looking through your viewfinder and seeing the bigger picture, not just your subject.
Before you snap that next picture, make sure you know what is happening in your photo. Is there a person in the background? Is a tree distracting your eye from the main subject? Does it look like a branch is poking out of your subject's head? You really need to be aware of everything that is going on around your main subject.
In my fifth example, you will notice that something is taking the attention away from my son. The composition in this photo is not as good as it could be. The car in the background takes the attention away from my main subject. I should have been eye level with my son, or maybe even waited for him to run passed the car before I snapped the photo.
Like I always say, the photography skills you are learning take a lot of practice and patience.
Next time you're out taking pictures:
- Look at the bigger picture, not just your main subject.
- Try repositioning your main subject.
- Try repositioning yourself -- the photographer! Stand, sit, kneel, lay down... try it all!
If you keep the Rule of the Thirds in mind in addition to the three items listed above, your pictures are sure to improve!