Health & Fitness
Let's Get Naked
Tackling kitchen cabinet painting, one cabinet at a time. Lacquer, anyone?
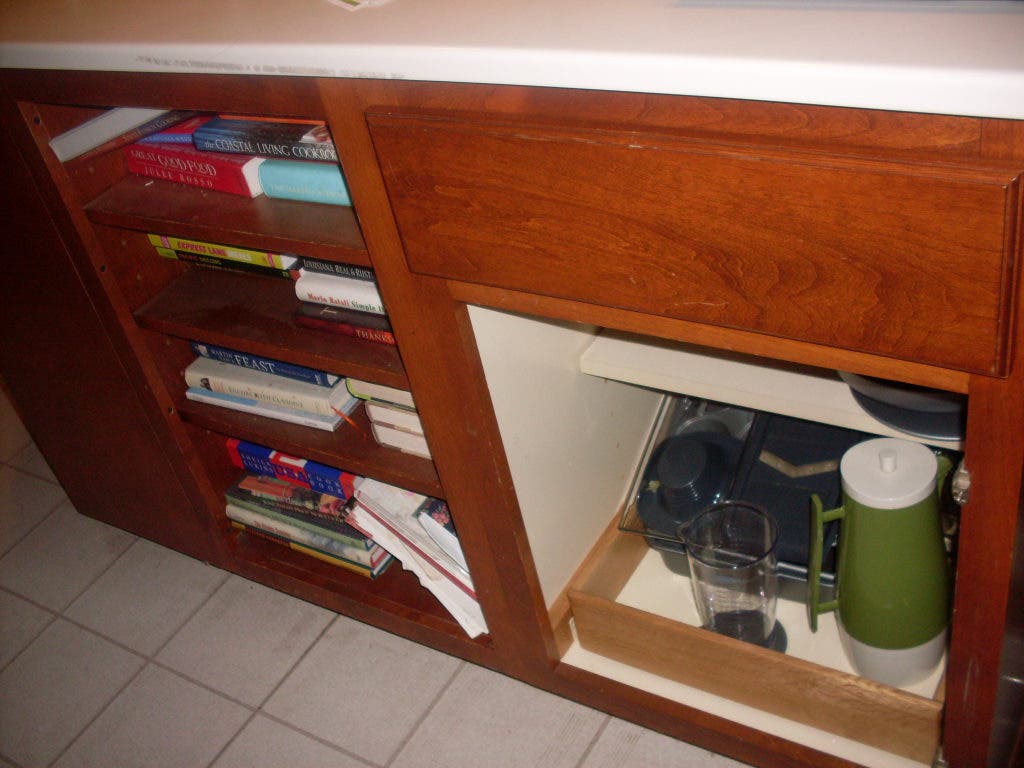


I’m talking about taking it all off, baby. In the metaphorical sense, of course. This is a family friendly blog site…most of the time. What I’m really talking about is the kitchen. I am taking the leap with the cabinets after much kvetching over the color and an endless gathering of opinions. It’s the brown. The ubiquitous Benjamin Moore Bitter Chocolate that is the floor trim and the $10 Habitat for Humanity media center will now grace the kitchen cabinets.
We toyed around with a variety of colors, but my initial gut was the brown and it still is. I don’t know why, honestly. These cabniets have seen better days and a coat of paint will be their last hurrah before we swoop in with some mid-century gorgeousness in the future. I could have chosen a crazy color like the orange or the green since it is fairly temporary. Someone had even suggested a warm white but GAWD, the fingerprints! Brown stole my heart from the beginning and I’m committing.
Turns out, that is the easy part. Getting engaged and planning a wedding…FUN! Doing the work on the marriage, not so fun. Just the research on how to do it right made me tired. But here’s what I learned (excerpted from This Old House):
Find out what's happening in Mercer Islandfor free with the latest updates from Patch.
- Both oil and latex paints will do the job and provide a good finish. If you do use a latex paint, make sure it is a 100 percent acrylic, which offers greater durability and adhesion than vinyl acrylic paints.
- “Surface prep,” says sales representative Brett Shinn, of Harrison Paint Corp., “is at least 75 percent, maybe as much as 90 percent, of the success of a repaint.”
- Remove the cabinet doors and drawers.
- You should strip the wood and sand it. Though a simple cleaning and a light sanding might do the trick if it’s a shorter term solution…check!
- Fill nicks and dings with putty.
- Prime and sand again.
- Paint. They recommend high gloss as the best stain resisting finish.
- Paint again.
- Let dry.
- Let dry some more.
- Get some snazzy new hardware and re-install those puppies.
Yeah, that sounds like an awful lot of work for a lazy DIYer, huh? (Do ‘lazy’ and ‘DIY’ even belong in the same sentence? Yep, if the sentence also contains the word ‘poor’.) Then I remembered hearing that Rustoleum had come out wiht a cabinet painting solution that was supposed to be hella easier than that. I had read about it a while ago and started searching. Yep, there it was. Rustoleum Cabinet Transformation…..ahhhhhh! I think I hear angels.
(To read the rest of this post, click here.)