Health & Fitness
Yes, Virginia…you really can paint a tile countertop
Painting a countertop makes for an inexpensive alternative to new tile.


It’s true. I didn’t believe it at first, but I sure do now. I have to admit that painting the countertop tile in the never-ending main bathroom project was by-far the most satisfying (though sometimes time-consuming) project I have ever done.
For one, I could do it without any help. I didn’t need Brett to trim in at the ceiling or to install a sink (that came after, of course) or to roll a wall higher than my 5’4” height could reach. I did every lick of it from buying the supplies to yelling at the children to stay out of the bathroom all by my little self.
I have to give credit to my friend Jennifer for the inspiration. When I was complaining about the very depressing color, (Tan? Mustard? Sand? Dirt?) she said, why don’t you just paint it? A revelation. And it isn’t hard at all. Just time consuming and requiring a lot lot lot of patience. Here are the steps:
Find out what's happening in Mercer Islandfor free with the latest updates from Patch.
1. Vacuum the room completely, especially if you have pets. I didn’t do this and ended up having to pull out a few dog hairs that had floated on during the process. (We did not remove the sink to do this project, though some people recommend it. I just cut in very carefully around it and made sure I re-caulked it after.)
2. Prime the cleaned tiles with Glidden Gripper, a primer and sealer ($10). My advice on doing this is to do it quickly. Don’t go over an area that had dried or your brush bristles will pull it up again.
Find out what's happening in Mercer Islandfor free with the latest updates from Patch.
3. Wait. Let the primer dry completely. I gave it an hour.
4. Paint the tiles with a semi-gloss color. We chose Burnished Clay by Behr. Brush the paint in the same direction so that you don’t end up with a lot of brush marks going in a million directions. It took just one of the sample size container ($2.49) to cover the countertop with two coats.
5. Let it dry completely again. I gave it about two hours total, with an hour between coats.
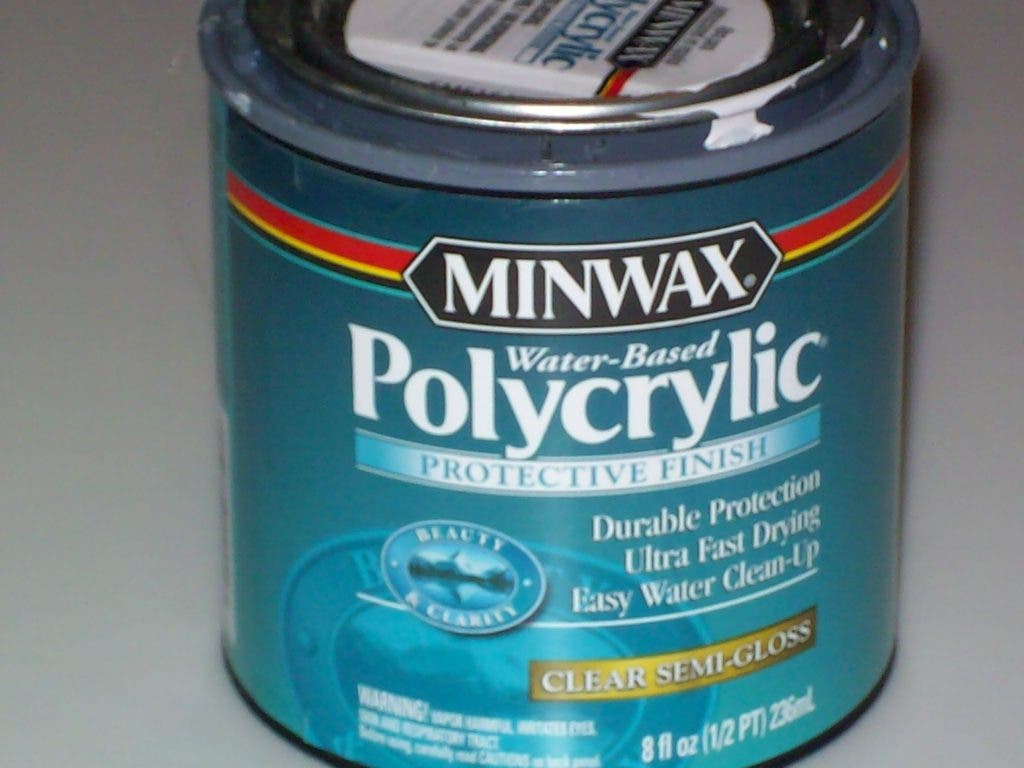
6. Apply 3-4 coats of Polycrylic, letting it dry for 2-3 hours between each coat. The woman at Home Depot recommended Minwax ($6.49 for a half-pint, which gave us 4+ coats).
7. Wait a week.
8. Wait another week.
9. Wait some more.
10. Yell at the kids to not use the sinks or get the countertops wet.
11. When they do leave a cup on there and the paint and finish bubble up, peel it back, sand it, prime and start that area again. It can be fixed I promise.
12. Wait some more and threaten them with certain death if they touch the countertop.
13. Go on a not-so-great family vacation and leave the bathroom closed for a week.
14. Wait until it’s been at least 30 days to put your lovely accessories and cups and toothbrush holders on it.
15. Even then, don’t forget it’s painted and try to not let water sit on it too much.
16. Enjoy the lovely countertop that you transformed for about $20!
We will let you know how it holds up. Anyone else ever have any experience with painting countertops?
(For more posts on other MCM renovation topics, visit our website at www.midcenturymodernlove.com)