Health & Fitness
Planning a Backyard Garden? First Step: The Bubble Plan
If you've got a few colored pencils, a tape measure and graph paper, you've got what it takes to plan the backyard garden of your dreams.
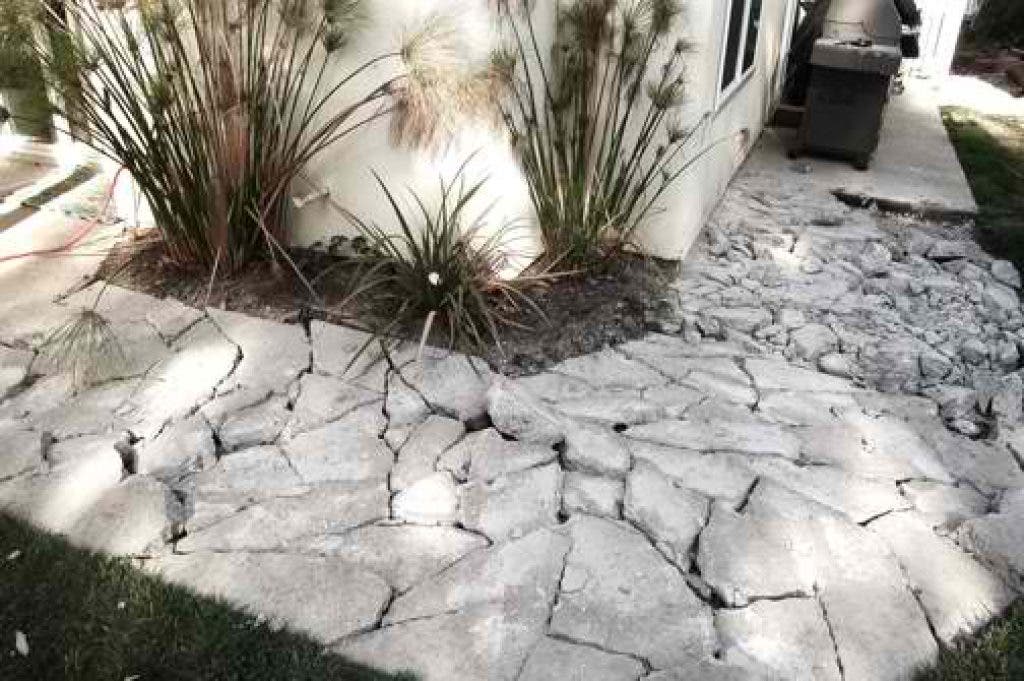


For years, my husband and I had been talking about making big changes in the yard. Jackhammer-requiring changes. Earlier this spring, we finally broke ground and 7,100 lbs. of concrete removal later, I can tell you, it feels gooood.
We live in a Cape Cod-style, circa 1983 cookie-cutter tract home in what the FBI named California's safest city in 2009 and America's safest city in 2007--you know it, you love it; it's Mission Viejo! Our yard is L-shaped, with equal parts concrete and grass lawn accounting for most of the square footage.
I've been gardening in pots, transportable raised beds and two slivers of poor soil since we moved in. But not for long. After several casual conversations about our individual hopes for the yard and pouring over one heck of an inspiring book called 1,000 Garden Ideas (we picked it up a few years ago at Anthropologie of all places), we had a cohesive plan...or so we thought.
Find out what's happening in Mission Viejofor free with the latest updates from Patch.
The 'plan' was lovingly scribbled out on a scrap piece of printer paper. Here's a much more legible version of it:
Functionality:
Find out what's happening in Mission Viejofor free with the latest updates from Patch.
- A good deal of square footage dedicated to growing fruits and veggies
- Liveable spaces for sunning and reading, bbqing and eating, and cutting and planting
- Aesthetics, using succulents as art
- Dog-friendly layout, meaning room for running, fetching, squirming and, yes, a place for pooping
Low-impact:
- Drought tolerant, California-native plants
- Reducing impervious surfaces and landscaping for runoff prevention
- Less concrete, reducing the heat island effect
Challenges:
- More shady spaces than sunny
- Poor drainage
- Even poorer soil quality
I learned this 'plan' is actually a glorified wish/wish-not list. While flipping through Sunset's Western Landscaping, I became aware of this critical difference. In order to close the gap, I tackled the book's first recommendation for developing a bona fide garden plan--making a bubble plan. If you've got a few colored pencils, a tape measure and graph paper handy, you can do the same.
Fresh out of graph paper? So was I. But, with one quick Google, I found a website called incompetech that lets you make free, completely customized graph paper pdf files. Using radio buttons and drop-down menus, you can set paper size, borders, grid line weight, grid spacing and even grid color to fit your fancy.
With your customized sheets of graph paper in front of you, you're just two steps away from completing your bubble plan.
Using your trusty tape measure, take measurements of all boundaries and dimensions of your lot, including the house. With this list of measurements in front of you, you're ready to draw a bird's eye view base plan of your property - to scale. First, choose a scale. For instance, one square of graph paper can represent two feet. That allows you to fit the entire plan on a single sheet of paper. Make several copies of this base plan.
Using your colored pencils, draw rough circles (aka bubbles) representing possible placement of activities and/or garden features. In the previous step, you made several copies of the base plan, so you play around with different scenarios. This bubble plan exercise is where good working knowledge of your property comes in handy--shady and sunny areas, locations exposed to prevailing winds, sloping, etc. Set up veggie gardens, outdoor living spaces and play areas for pets and/or children by carefully considering their placement.
Want to see what I came up with? Flip through the attached photos and be sure stay tuned for posts on creating outdoor living spaces, tips for pet-friendly yards, fire- and wind-resistant landscaping and other design tricks.
If you have any to share, please put them in the comments!