Arts & Entertainment
Decorate Easter Eggs With Common House Items
Avoid buying dye kits to decorate eggs this year and learn how to create beautifully designed Easter eggs with everyday household items.


Spring is here and Easter has finally arrived! What better way to spend your weekend than to design custom decorated Easter eggs? This tradition of egg decoration has been a long-time enjoyed pastime for children and adults alike for years. Not only is it a fun and creative arts and crafts project but it is also a great way to spend quality time with your loved ones. And, the good news is there is no need to go out and buy egg dye kits and spend a lot of money in order to participate in this activity.
This article will show you my top 5 everyday household items to create customized designs for decorating Easter eggs. Here, you will learn that there are many different ways to decorate eggs. Keep in mind that all of these techniques require eggs to be hard-boiled before decoration. Also, most of these techniques require food coloring and / or children’s watercolor paints (or something like that).
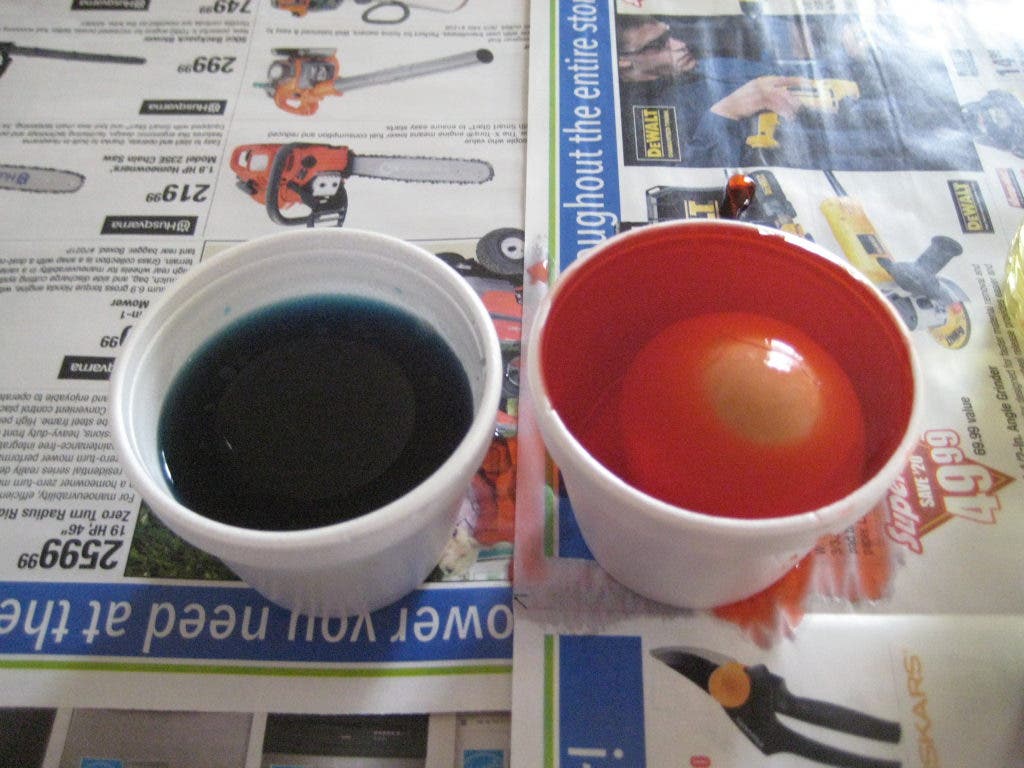
Household Item #5: VINEGAR + COOKING OIL
Create (2) water + food coloring mixtures, preferably of contrasting color. In one color mixture add vinegar. In another color mixture add cooking oil. Dip the egg surface into the vinegar mixture and then into the oil mixture. The combination of vinegar and oil separating will create a marbleized effect on the egg surface.
Find out what's happening in Brookhavenfor free with the latest updates from Patch.
Household Item #4: GLUE GUN
Heat up glue gun and draw patterns, dots, lines, etc. all over the dry surface of the egg. Do as much or as little as you like. After the glue dries, place the decorated egg in the water + food coloring mixture. The glue will act like a stencil and your hand-drawn design will be clear of dye.
Household Item #3: CRAYONS
Use crayons and draw fun designs and shapes as well as write unique messages. The warm boiled egg will melt the wax of the crayons and allow the color to spread evenly on the egg’s surface. As the egg cools, the wax will dry and your design will set firmly. CAUTION: Make sure to hold the egg with a paper towel to protect your hand from burning.
Find out what's happening in Brookhavenfor free with the latest updates from Patch.
Household Item #2: SPONGE
Cut up the sponge into small piece (preferably one piece per color). Use watercolor (or another craft paint) and dip the sponge into each color. Pat the sponge on the surface of the egg loosely. Choose another color and repeat.
Household Item #1: RUBBER BANDS
Wrap as many or as little rubber bands around the egg’s surface. The rubber bands (like the glue) will act like stencils on the egg. Dip the entire egg (or just half of the egg) into water + food coloring mixture. You can also use paint and manually apply color to egg’s surface. After drying, remove rubber bands.
Just like any art project, make sure you have a clean space to work in and protect your furniture by placing newspaper down on surfaces. Also, allow ample time for decorated eggs to dry. But most importantly, have fun and get creative. Imagine how everyday things in your home can be repurposed as fun decorating tools for art projects.