Health & Fitness
Garden Blog: How To Add Three Months to Your Growing Season
Hoop houses are a fun and inexpensive way to add an additional three months to your gardening season.


We have all enjoyed the crazy warm spell that has hovered over the Midwest for weeks now, and those of us who garden are itching to be digging in the dirt. However we must keep in mind that we are only in the first few days of spring and a frost is still possible until mid May. It is simply too early to be doing most of your planting for the season.
There is still plenty of work we can all be doing including amending our soil, planning our annul plantings, mulching, and general clean-up. I love doing all of those things, but I am a garden junkie searching for my next fix; I needed more, and I needed it now.
This year I decided to experiment with hoop houses. I happened to have been given a couple of frames from some gardener friends who recently moved to Arizona. Hoop houses function the same way as greenhouses; however they are exponentially cheaper to build and operate. They can vary in size from the large high tunnel hoops used by farmers, and garden centers to the smaller garden variety I am using in my backyard.
Find out what's happening in Cedar Fallsfor free with the latest updates from Patch.
Hoop houses can extend your growing time anywhere from four to six weeks in each direction of the season. In other words a hoop house can give you almost three extra months of growing. The greenhouse effect created by the hoop house warms the soil considerably. In the overnight hours the heat radiating off of the soil is captured inside thus providing plenty of protection from frost. The high humidity created inside also creates a prime environment for starting seeds.
You can go out and purchase premade kits for hoop houses, but why waste your money when they are so easy to construct? The ones I am using are very easy to make.
Find out what's happening in Cedar Fallsfor free with the latest updates from Patch.
You first want to construct a frame using untreated 2x4’s (pressure treated lumber contains nasty chemicals and has no place in your garden). My hoop houses are both 4’x8’; it’s a nice workable size that fits easily over my 4’x12’ raised garden beds. You will need your lumber, four 2x4 blocks of wood, u-shaped nails, heavy gage animal fencing, clear plastic sheeting, a staple gun, and some coated deck screws (coating will protect from rust).
Lay all of your lumber out in the shape of a rectangle and put one of the blocks on the inside of each corner. Use your deck screws to drill from the outside of your frame inwards towards the block that will serve as your joint, about four screws per corner should get the job done.
You now have your wooden frame constructed and its time to add the hoop. I simply use some heavier gage animal fencing that I first cut to my desired dimensions. You then attach the fencing to the sides of your frame using u-shaped nails forming a dome like structure. The top of your dome can be any height you wish; mine is about three feet.
The only thing left now is to add the plastic. Many people recommend using visqueen plastic, but it can be hard to find and is more expensive. I simply used a three dollar roll of clear plastic; the same kind you would use to protect floors and woodwork when painting. Use a staple gun to attach the plastic to the sides of your frame, but leave the last two and a half feet of each end unstapled. You want to leave a portion of your hoop house unstapled so you can easily get in and water when needed. I tuck the unstapled ends under the frame and use a couple of bricks to keep it weighed down.
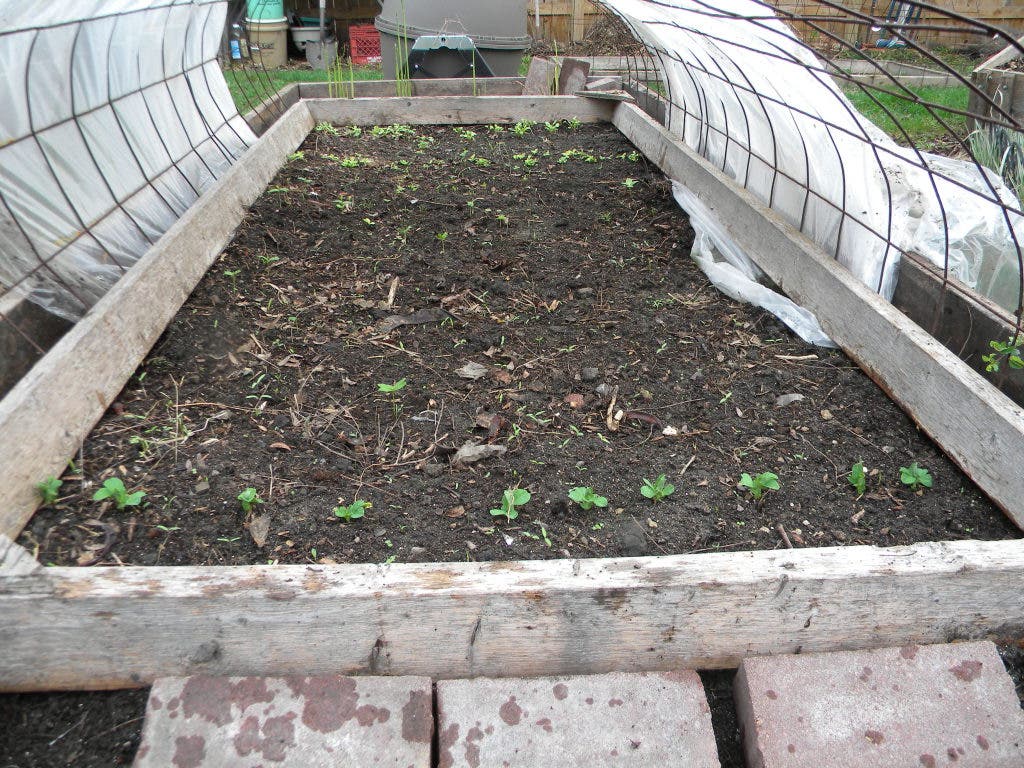
So what can you plant in your hoop house? Well, anything really. I like to design my landscaping in the spirit of the edible French gardens, growing a combination of vegetables, herbs, and ornamental flowers all mixed together, flowing into one another. For my first cycle of the season I decided to plant Empress of India Nasturtium, Oriental Poppies, Californian Poppies, Yellow Giant Coreopsis, Dill, Fennel, Spinach, Kale, and some heirloom lettuce.
The greens should all be ready to harvest by mid May when I will replace those spots with tomatoes and peppers.
Both varieties of poppies and the coreopsis are ornamental flowers that I have not had luck starting from seed in the past; however they appear to be doing well so far in the hoop house. I decided to plant the dill and the fennel because they have such long period of time from planting to harvesting, and I don’t want to wait until fall to have them on hand in my kitchen. The Nasturtium is just a fun and beautiful edible flower that will look great mixed with all of those greens.
Maintenance on your hoop house is very simple. You will want to check the soil every couple of days to make sure it is sufficiently moist. If we are hit by a really hot day you will want to open up the ends of your hoop house letting the hot air out so your plants don’t over bake.
If you are like me and just can’t wait to get started, you should consider adding a hoop house to your gardening arsenal.