Community Corner
How to Carve a Pumpkin
Tackling the art of pumpkin carving this Halloween? Check out our guide for tips and a how-to that will help bring your pumpkins to life!


Halloween is just around the corner and the best pumpkins are already coming off the shelves. Everybody wants a pumpkin they can display with pride for trick-or-treaters or to win a pumpkin carving contest among friends. Here is a quick guide to get you started and some tips on how to carve the best possible pumpkin.
Either start by creating your designs and letting that dictate the shapes and sizes of pumpkins you get to carve or get the pumpkins first and let them inspire the design. While you’re out getting your pumpkin, it’s also probably a good idea to pick up a carving kit.
Most pumpkin carving kits available come with some classic Halloween designs. There are also plenty of websites that have free stencils and some that require a small fee to print the stencil. The website used to create the designs shown in the photos above came from Zombie Pumpkins, which at its cheapest lets users access two designs for $2.
Find out what's happening in Upper Marlborofor free with the latest updates from Patch.
Once you’ve got your pumpkins, tools and designs, it’s time to start carving. Here’s a guide to get you started. Of course, as with any type of art it doesn’t need to be followed exactly, but it should give an idea of some best practices.
- Cut a hole in the top of the pumpkin with a large kitchen knife, serrated preferred. Be sure to cut at about a 45 degree angle inward so the top will sit nicely once you’re done carving. If you’re carving with kids, adults should take care of this step.
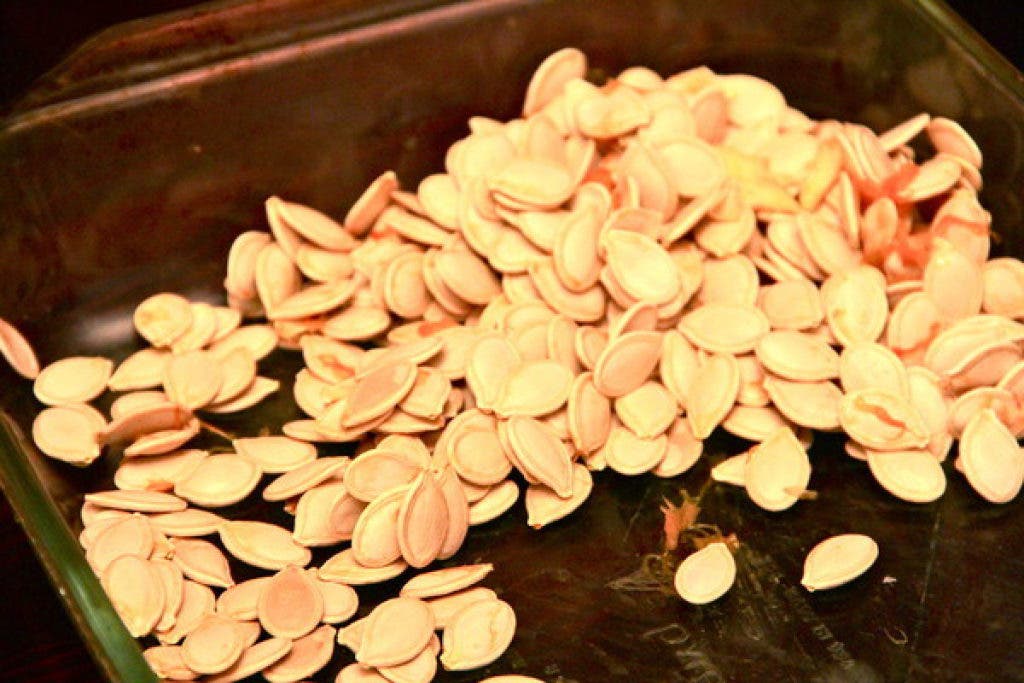
- Use a large spoon, or a pumpkin scraper to get all of the guts and seeds out of the pumpkin. Make sure the side you’ll be carving your design into is nice and clean, and if you’re planning on saving the seeds for roasting, this is a good time to separate them from the rest of the guts.
- Now it’s time to either sketch out your design or trace a stencil so you can start carving. If you’re drawing on the pumpkin a sharpie or other permanent marker is the best option as it won’t smear. (Tracing a stencil can be challenging, especially if it is a more advanced design. Most pumpkin carving kits will provide a “pounce wheel” or you can try a connect-the-dots style.)
- After your design is on the pumpkin, it’s time to start carving. It’s definitely worth investing in a pumpkin carving kit because the blades will allow for more control, and they’re a lot safer than kitchen knives, especially for kids.
- When carving out different parts of the design, be careful not to go too far when working in close quarters. The cleaner the cut, the easier it will be to take the carved parts out without tearing nearby rind.
- Carefully remove the pieces that need to be removed and clean up any rough edges.
- With your pumpkin cleaned and design carved, get either a battery-operated light or use a candle in some sort of holder. Don’t ever put a candle by itself in the pumpkin, which could be a huge fire hazard.
- When your pumpkins are done, find somewhere to display them proudly on Halloween and keep an eye on them if you decide to use candles.
Related Topics: Halloween, Halloween 2011, and Pumpkin Carving Carve an awesome pumpkin you want to share? Post a photo in our gallery here or e-mail the photo to uppermarlboro@patch.com!
Find out what's happening in Upper Marlborofor free with the latest updates from Patch.
Get more local news delivered straight to your inbox. Sign up for free Patch newsletters and alerts.