Community Corner
Pachysandra Propagation
"I started off by edging out the space I wanted to fill in with my edging tool; keeping in mind the path of the mower so as not to make more work, rather cut down on the need for the weed whacker."


Sometimes it is so hard to carve out time to do things you want to do. It seems to me that lately the “must do” list has trumped the “want to do” list over and over.
Last weekend, being Mother’s Day, I insisted on spending time working on a project I’ve had in mind for a couple of years; planting pachysandra around the patio in back of the house. When we built the patio I had envisioned a clean line between the lawn and our little haven making mowing easier. Armed by a wheelbarrow, hand rake, edging tool, a bucket, a teriyaki skewer, a little cup of water, rooting hormone, scissors and my little one for company I finally trudged out to begin my project.
I started off by edging out the space I wanted to fill in with my edging tool; keeping in mind the path of the mower so as not to make more work, rather cut down on the need for the weed whacker. Next I used the hand rake to remove the grass and put it into the wheelbarrow. Since the area I ultimately want to cover is about 60’ long by 3’ wide, I only uncovered the area that I would be able to replant in one sitting in order to keep weeds from growing in.
Find out what's happening in North Andoverfor free with the latest updates from Patch.
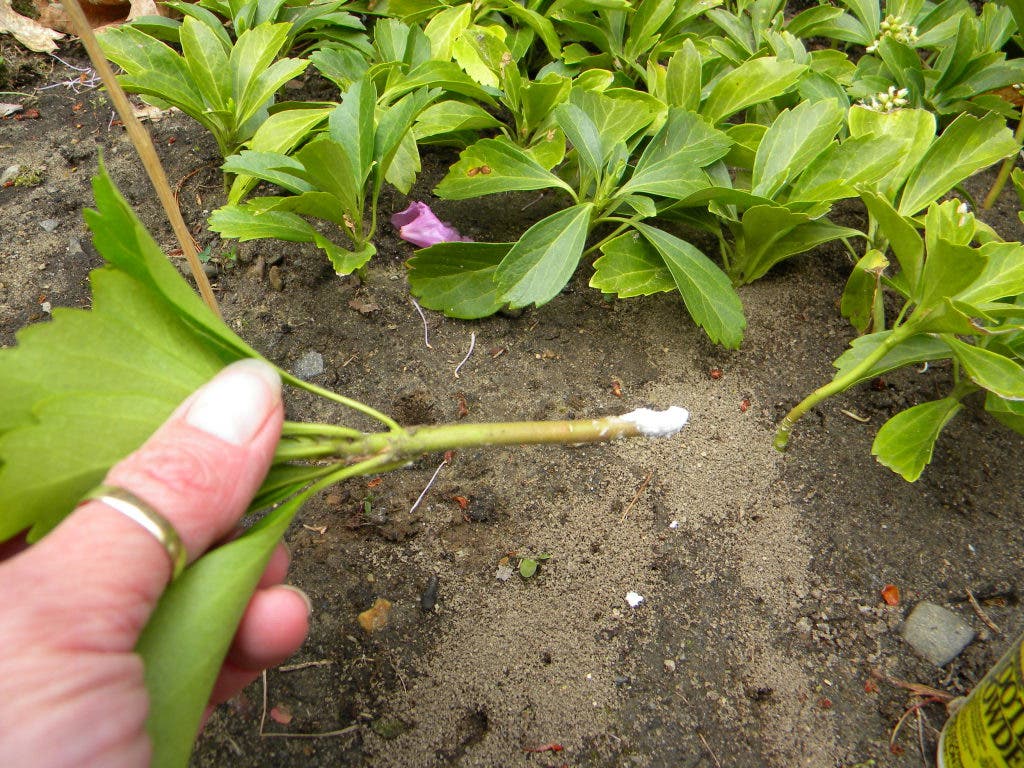
I have an abundance of established pachysandra to use for propagation which saves my gardening budget for other things. Next on the list was to trudge out to one of my patches with a bucket and scissors to retrieve a bucketful to start planting. I select plants that have two crowns, one on top of the other and cut the stem just above the first crown.
I made my way back to the project area and began poking holes in the ground, 2” apart in either direction, with my teriyaki skewer and using a circular motion to widen the holes. For each hole I dipped the cut end of the new plant in water and then into the rooting hormone, stuck it into the ground about an inch and patted the dirt around the base of the plants.
Find out what's happening in North Andoverfor free with the latest updates from Patch.
After a solid four hours I had made a dent in the project; it will likely take me six more sessions to cover the whole area, but in the end it will be worth it. It was so relaxing mindlessly plopping in new plant after new plant listening to the sounds of life all around with my little one interjecting thoughts and sparking conversation.