Neighbor News
Play Dough Recipe and Activities
Here's a great play dough recipe, and lots of creative ways to use it to encourage imaginative play with your kids

It would be an understatement to say we love play dough here at The Messy Artist – we adore it so much we almost consider it a necessity! We have it on hand for all our classes for our youngest students as one of our sensory stations. Each session we create a signature “look” for our play dough. For example, spring may be yellow play dough with a lemony scent. Autumn might be purple with a lavender scent. Because it has so many merits and kids love it, it is always at the top of our lists of favorites.
Some of the benefits we see from children playing with play dough are:
- It promotes hand strength
- It improves eye- hand coordination
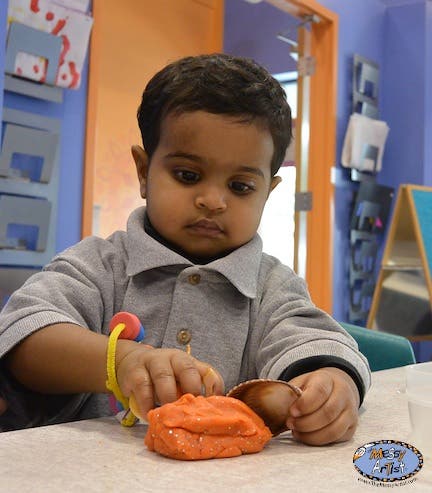
- Play dough allows for open ended, imaginative play
- Many other tools and toys can be introduced into play with playdough
- It is a very adaptable material; we make it different colors and scents, add sometimes add glitter.
Here is the recipe for the play dough we use in our studios:
Find out what's happening in Morris Township-Morris Plainsfor free with the latest updates from Patch.
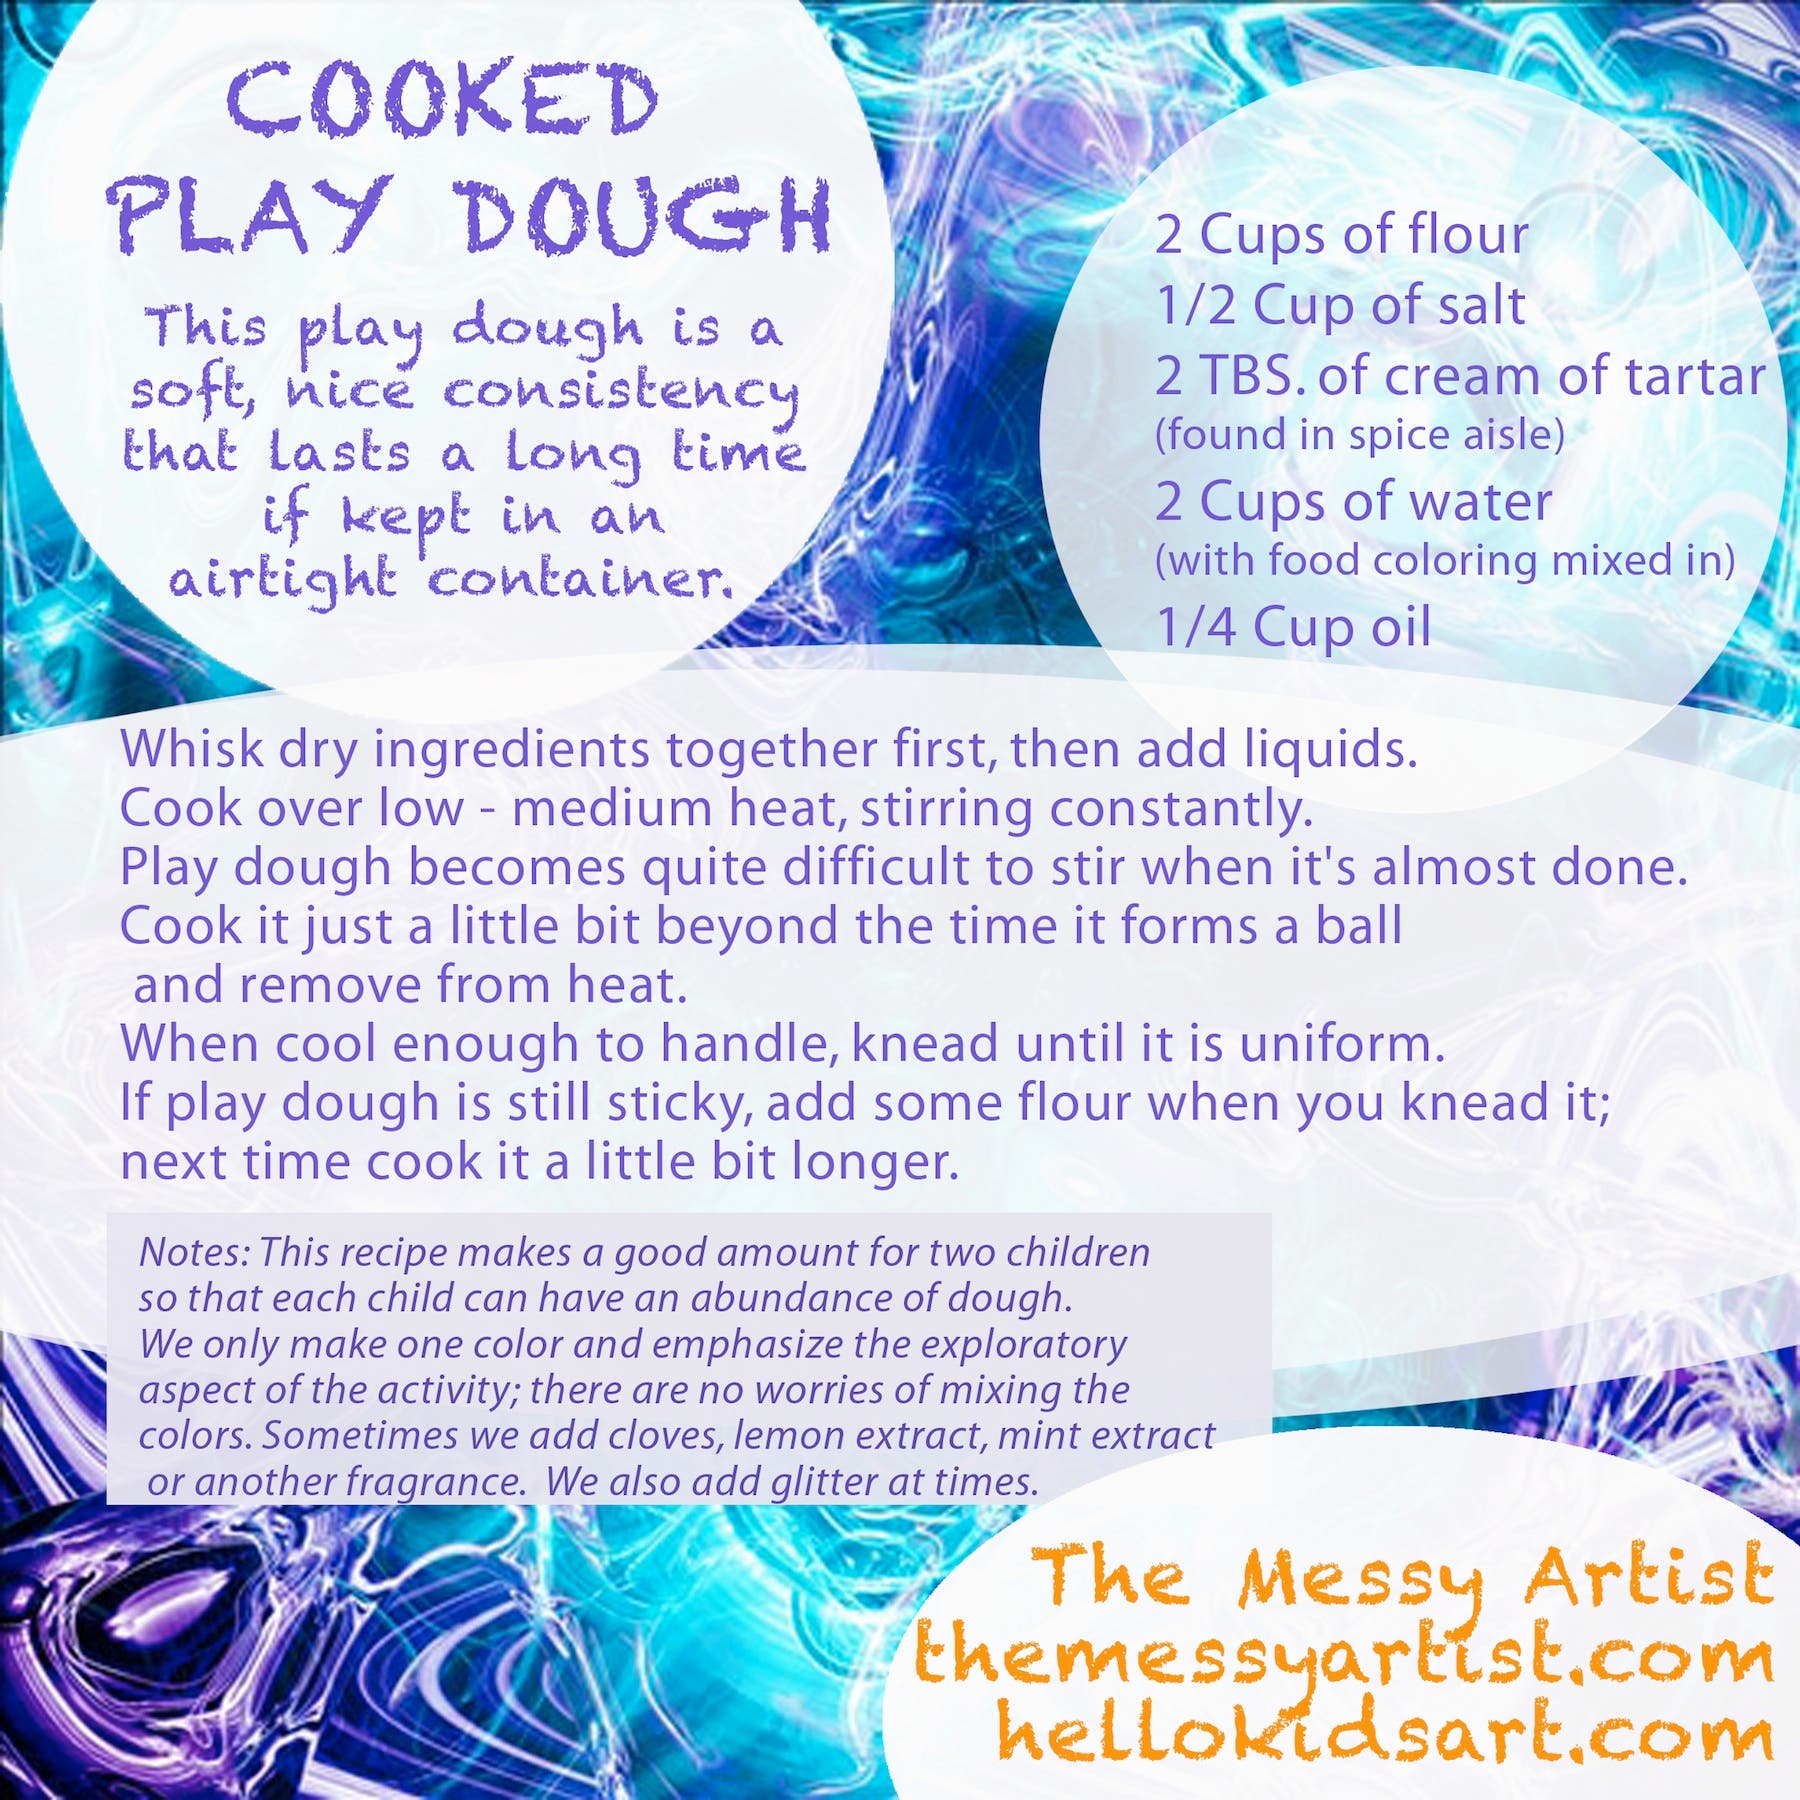
COOKED PLAY DOUGH
This play dough is a soft, nice consistency that lasts a long time if kept in an airtight container. One recipe makes a good amount for two children. We like to have enough so that each child can have an abundance of dough! We also only make one color and emphasize the exploratory aspect of the activity and there are no worries of mixing the colors.
Find out what's happening in Morris Township-Morris Plainsfor free with the latest updates from Patch.
2 Cups of flour
1/2 Cup of salt
2 TBS. of cream of tartar (found in spice aisle)
2 Cups of water with food coloring mixed in
1/4 Cup oil
We add cloves, lemon extract, mint extract or any other fragrance that I can think of. You can also add glitter.
Wisk dry ingredients together first. Cook over low - medium heat, stirring constantly. It becomes quite difficult to stir when it’s almost done. Cook it just a little bit beyond the time it forms a ball and it should be done. Remove from heat. When cool enough to handle, knead until it is uniform. If play dough is still sticky, add some flour when you knead it; next time cook it a little bit longer.
Some of the tools we use with play dough:
- Popsicle sticks
- Plastic gems
- Plastic animals
- Rolling pins, including textured ones
- Pizza Cutters
- Wooden hammers
- Large buttons
- Sea shells
- Extruders
- Cutting tools/pie servers
- Nothing at all!
Each week we change the accessories that we put out with the play dough. The first week of the session, we offer no toys, and then cycle through our arsenal, mixing and matching them as the session progresses. The children look forward to the play dough each class, and discovering each week’s tools.
To see more art projects for kids, please see our blog: http://hellokidsart.com/
To learn more about The Messy Artist, please see our website or stop by for a visit:
The Messy Artist
356 Route 10 West
East Hanover, NJ 07936
973.378.2425