Now that school is out, you may be looking for things to do with the kids.
Child labor laws prevent us from enslaving the little darlings or having them attend to laborious tasks like plowing fields or repairing rocks walls. And let’s face it, the attention span of a 3 to 5 year old is not long, and not much better in children a bit older. (We won’t even discuss attention when it comes to teenagers who could make yawning and eye rolling an olympic sport.)
So say we have an hour or so, and have on hand a few relatively inexpensive house-hold crafts/supplies. And just for good measure, we lay out some appealing snacks, allow our children to invite a friend or two and voila—a sweet Sunday afternoon is all but guaranteed.
Find out what's happening in New Milfordfor free with the latest updates from Patch.
Try any one or all three of the following simple activities at a party or scout meeting. They are easy, can be used educationally and are messy enough to be enjoyed by little ones, but not too drastic on the budget or in the clean-up.
Seed Sprouting
Find out what's happening in New Milfordfor free with the latest updates from Patch.
Supplies:
Clear plastic cups or small glass jars-one per child
Thick paper towels-one or two per child
Small plastic planting pots-one per child
A small bag of potting soil
A notebook and pencil for observations, or chalk board
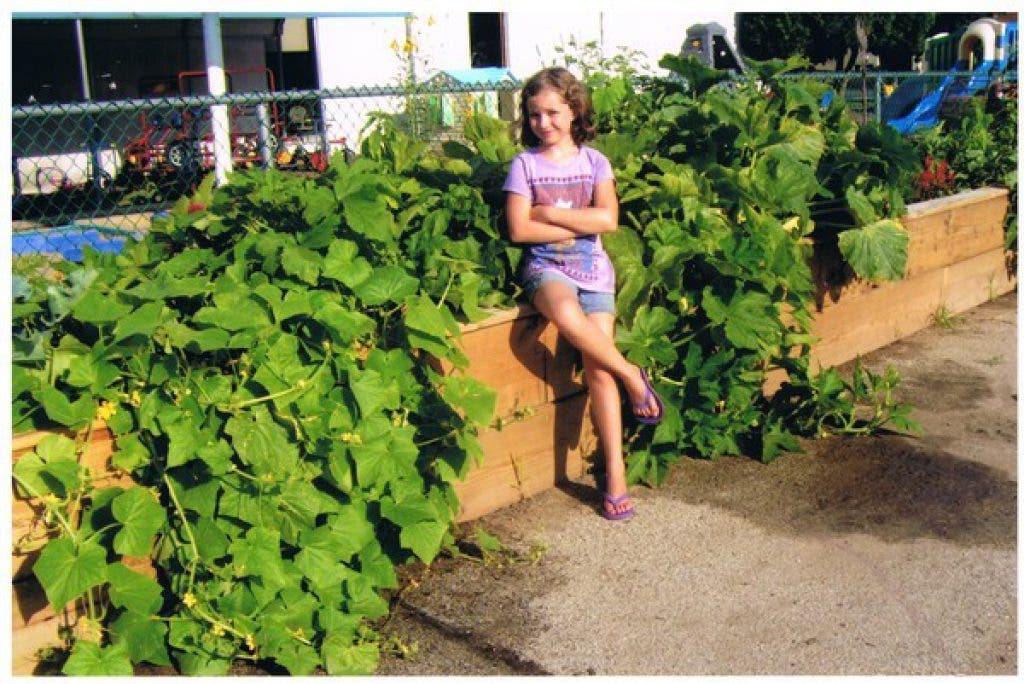
Seeds that germinate easily such as beans, squash, pumpkins and cucumbers
Watering can or spritzer
Saran Wrap
Toothpicks
Cover your work surface with a plastic tablecloth, newspapers or recycled bags. Distribute the supplies in sequence—too many things at once leads to restless anticipation and a resulting lack of attention. Explain that you are conducting an experiment on germination and want to find out in which way seeds sprout faster.
- Line the cups or jars with a moistened paper towel, folded in half. Insert up to three seeds in between the glass or cup and layers of paper towel and press lightly (into the wall of the glass or cup). Spritz with water and keep moist, checking every day. Cover lightly with plastic wrap to create a miniature greenhouse. Do not allow to dry out. (You may also lay the seeds in between the dampened layers of paper towels and place flat on a porcelain plate-keep moist).
- Fill the small pots with moistened soil. Plant up to three seeds at the depth according to planting directions on the seed package, and close to the edges of the pots (in a circle). Spritz with water. Insert up to four toothpicks into the soil and cover lightly with plastic wrap. Do not allow to dry out.
- Ask the children which they think will sprout faster and write it down with the date planted. Check every couple of days, noting when each has sprouted. (Transplant the seedlings sprouted in the jars or on paper towels into a small pot with soil. Keep moist and compare which ones grow faster-the ones sprouted in the dirt and the ones in the jars.)
- When the seedlings have four leaves, transplant them carefully into larger containers (two gallons per plant) or directly into the ground.
Rock or Shell Painting
Supplies:
Relatively smooth rocks and or clamshells
Tempera or acrylic paints (acrylic will last long but stain clothing so use old t-shirts or smocks)
A variety of inexpensive (ok really cheap) brushes-foam or bristle
(Optional-an acrylic spray to seal the paint)
Again, protect your work surface as in above. Brush off excess dirt or sand and wash and dry thoroughly. (Allowing rocks/shells to dry in the sun is best. A scavenger hunt for rocks or shells is a lot of fun-you will be surprised what the kids will find in their own gardens or at the beach.)
- Give each child an arms length of room on either side to work.
- Have each child select up to three rocks/shells; they will probably be possessive of the ones they have found which is fine. You may certainly allow more rocks as some will rip through the painting process while others will linger over one.
- Free paint or provide a theme that can be worked on as a group. This is particularly fun when planning for a secret garden. You may incorporate the reading of a story first, to inspire the children or coordinate the activity with a visit to an art museum. There is no right or wrong way and no limit to ideas.
- Allow the paint to dry for at least 24-48 hours. Have parent or guardian spray the finished rocks outdoors and with plenty of ventilation. Children should not handle the sprays.
- Display proudly where all can see or in a …
Secret Garden
Rocks from the above project make a delightful pathway leading up to a secret garden. Depending on how ambitious your artists were, you may alternate plain rocks with painted ones, providing clues for garden seekers. It is fun to read the story The Secret Garden by Frances Hodgson Burnett first (available in Pre-school versions), but not necessary. Find a relatively quiet part of your yard, far from the beaten path. This can be in a corner, behind some shrubs, in a cluster of trees-a hidden place that your children may call their own.
To keep your landscape attractive, you may plant some boxwoods or a trio of knockout roses in front of the dedicated area. Behind them cultivate the ground with some peat moss and plant Scarlet Runner Beans or if you have the room, Mammoth Sunflowers. Plant them in a circle, square or triangle leaving minimally a 5’X5’ space for a future “floor.” Insert 6-8 foot stakes teepee style into the ground when the seedlings sprouts, training the plants to grow in a fort-like manner.
Beyond the plant tunnel, you may place a sundial, a mermaid, a frog or a looking glass-anything meaningful or mysterious that your child will enjoy showing to his friends and family. You can even bury treasure or messages in the garden. Plant small hosta, impatiens, ferns and other shade-loving plants around the object to create a lush garden that enhances the theme. Come up with a name for the garden and perhaps make a sign. Hang pieces of colored glass or other reflective items or perhaps a string of fairy lights.
Be as creative as you like with these projects, making sure that having fun while learning is the goal. Make a big jar of Sun Tea and have some special treats on hand to enjoy once all of the work is done. And then a little nap on the hammock …