Neighbor News
Getting Your Patio Ready for Summer After This Past Winter
Winter can be rough on concrete patios. Here are some tips on how to get your concrete patio in Philly ready for the summer.
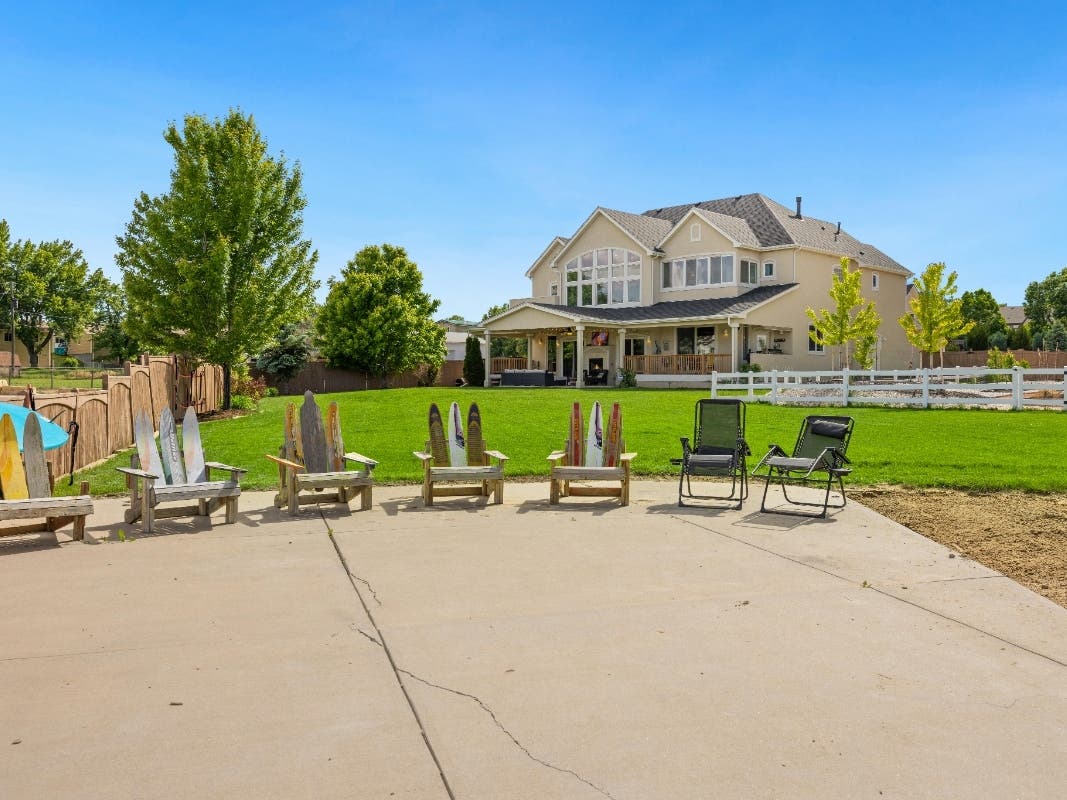
This winter was rough. Not "oh it snowed a lot" rough, but cold-enough-that-the-ground-actually-froze rough. And if you walked out back in March and your patio looked tired, dirty, maybe a little beat up, you're not imagining it. Half the block is in the same spot.
The good news is most of what a Philly winter leaves behind is fixable in a couple weekends with stuff from the hardware store. The trick is doing it in the right order so you're not scrubbing a slab you're about to patch, or sealing over debris you should've blown off first.
Here's the playbook for getting the patio back in shape and ready for summer:
Find out what's happening in Philadelphiafor free with the latest updates from Patch.
- Small repairs (the cracks frost heave left behind, and what to do about them)
- A good cleaning, with or without a pressure washer
- Resealing the joint where the patio meets the house
- A handful of easy things to keep it protected for the next few months
Walk through it in that order and you'll be hosting cookouts by Memorial Day weekend instead of apologizing for the way the patio looks.
Step One: Walk It and Clear It
Before anything else, walk the slab slow with a coffee. You're looking for new cracks, sections sitting higher or lower than their neighbors, joints with the filler popped out, and the seal where the patio meets the house. Take a picture of anything that looks bad so you remember what you're shopping for later.
Find out what's happening in Philadelphiafor free with the latest updates from Patch.
While you're walking it, pay attention to the slope. A patio should pitch slightly away from the house so water runs off toward the yard, not back toward the foundation. If you notice yours sloping the wrong way (water running toward the house during storms, or pooling against the back wall), that's worth taking note of. It can mean the slab has settled over the years, and in heavy rain it can push water right up against your foundation or even into the basement. Doesn't always mean it's time to replace the patio, but it's a sign worth mentioning to a contractor next time one's out, especially if it's getting worse.
Then clear the surface. Sweep it, and if you've got a leaf blower, even better. You want all the debris, leaves, dead grass, last fall's mulch chunks, completely off the slab and out of every crack and joint before you start any repair work. Anything you patch over with debris in it won't bond and will fail by next winter.
One more thing before you crack open any product. A lot of what's coming up (crack fillers, joint sealants, cleaners, bleach mixes) can splatter, drip, or run off in ways you don't expect. Keep kids and pets inside or in a different part of the yard while you work. Move planters and patio furniture off the slab. If your patio borders a lawn, flowerbed, or mulched area, lay a line of cardboard or an old drop cloth along the edge to catch splatter, especially when you're using anything with bleach in it. And before you start with any of the cleaning products, give the surrounding lawn, flowerbeds, and any nearby plants a good soak with the hose. Wet foliage and damp soil dilute anything that does end up on them, which makes a real difference if a few drops of bleach mix or rust remover get past your barriers. Take two minutes to cover any low siding, foundation paint, or stonework on the house within a couple feet of where you're working too. A piece of painter's plastic and some tape goes a long way. Cleanup is way easier than trying to scrub a polyurethane drip off vinyl siding three days later.
Step Two: Fix the Cracks
A quick word on why you might be seeing more cracks than usual this year. What hit a lot of Philly patios this winter was frost heave. The ground froze deep, the soil under the slab expanded, the concrete lifted, and when everything thawed out the patio mostly settled back where it belonged. The cracks it left behind on the way up and back down didn't go anywhere. That's what you're patching.
Match the fix to the crack. Three tiers, three approaches.
Hairline cracks (about a credit card edge or thinner) are the easiest. Tube of concrete crack sealer from any hardware store, around $8. Squeeze it in, smooth it with a putty knife, wipe the excess. Done.
Medium cracks (up to about a quarter inch) need a little more. Pick up a small tub of vinyl concrete patch, the kind you mix with water until it's like thick frosting. Clean the crack out first with a screwdriver and a shop vac. Spoon the patch in, smooth with a trowel, feather the edges. Cures in 24 hours. The patched area dries a slightly different shade of gray and blends over a few weeks.
Wider cracks (quarter inch and up, especially deep ones) are where backer rod comes in. Backer rod is a flexible foam tubing you push down into the crack before you fill it. It does two things: stops the sealant from sinking down forever and wasting product, and gives the sealant the right shape so it can flex with the slab without tearing.
Backer rod comes in different diameters. Get one slightly bigger than the crack so it has to be pressed in. Push it down with a screwdriver until it sits about a quarter inch below the surface. Then top it with self-leveling polyurethane crack sealant. The rod plus the sealant is the right way to handle a wider crack, costs about $15 total, and lasts years longer than just dumping sealant in alone.
For cracks where one side is sitting higher than the other (a tripping hazard), don't try to grind them down yourself. Diamond grinders kick up silica dust that's actually dangerous to breathe. That one's a contractor call.
Step Three: Clean the Slab
Once your repairs have cured, time to clean.
Pressure washers are great if you have one. Plenty of people don't. Here's what works without one.
The basic mix: warm water, a quarter cup of dish soap, a stiff-bristle deck brush. Handles most of what winter leaves behind. Work in small sections so the soap doesn't dry on you.
For that dingy gray film that covers everything by April, add half a cup of baking soda to the soap mix. Lifts the haze without scratching the surface.
For mildew along the shaded edges and under the grill, mix one part bleach to ten parts water in a spray bottle. Spray, wait ten minutes, scrub, rinse. Wear old clothes. Rinse the plants at the edge afterward so you don't kill them.
For grease stains from last summer's burgers, cat litter is the move. Pour a thick layer over the stain, leave it overnight, sweep it up, then scrub with dish soap. Almost always cheaper than the fancy degreasers.
For rust stains from chair legs, two friendly options. Cream of tartar mixed with lemon juice into a paste, scrubbed in with a brush, works on most spots. For tougher rust, white vinegar straight from the bottle, poured on and left for an hour, then scrubbed off. Both are gentler than commercial rust removers, which can leave a bleached spot that looks almost as bad as the rust did.
Step Four: Reseal the Joint Where the Patio Meets the House
This one matters more than people realize.
Walk to where the patio meets your foundation. There should be a clean joint there filled with flexible sealant. If it's cracked, missing, or pulled away, water is getting behind it. Water against a foundation is how basements get wet.
Fix is a 30 minute job. Clean the joint out with a screwdriver and shop vac (or that blower again). Pull out any old crumbling sealant. Run a bead of self-leveling polyurethane joint sealant, $8 a tube, and smooth it with a wet finger or a popsicle stick. Done.
Same goes for the control joints across the slab itself, the lines cut into the patio every few feet. If they're empty, fill them. They're not decorative. An empty joint lets water down to the sub-base where it does the kind of damage that shows up as next year's frost heave.
Step Five: Protect It for the Summer
Repairs done, slab clean, joints sealed. Now the easy stuff that keeps it that way.
A quick word on sealing. You'll see a lot of advice online telling you to seal your concrete patio every few years. The honest version is that for a standard broom-finish residential patio, sealing is optional and most homeowners skip it. Sealers can make the surface noticeably more slippery when wet, which is the last thing you want when people are walking around in flip-flops. Sealing is more of a stamped-concrete thing, where the decorative finish actually needs the protection. If your patio is a regular broom or smooth finish, you're not doing anything wrong by leaving it alone.
Put a grill mat under the grill. Around $30. Saves you from scrubbing the same grease stain every spring for the rest of your life.
Keep the birds off your furniture. Move chairs out from directly under tree branches and gutter lines. Hang reflective tape, old CDs, or wind chimes near where birds congregate. A fake owl works too if you remember to move it every few days. And rinse any droppings off the slab fast, they're acidic and will etch the concrete if they sit.
Watch your drainage. During the next decent rain, walk out and look. Water should sheet off the edges, not pool, and definitely not run toward the house. If you see puddles still sitting 30 minutes later, you've got a low spot. Small ones can sometimes be fixed with a self-leveling concrete topping, bigger ones are a contractor call. While you're out there, check that your downspouts aren't dumping water onto the slab. A $5 splash block fixes that and prevents a lot of next year's problems. Water is the single biggest factor in how long concrete lasts in Philly, and a slab that drains well outlives one that doesn't by years. Worth the ten-minute walk in the rain.
Quick Order of Operations
For anyone who scrolled to the bottom:
- Walk it, take pictures, note any slope issues, clear all debris with a broom or blower
- Cover the surroundings (lawn, flowerbeds, siding) and keep kids and pets clear of the work area
- Fill the cracks (sealer for hairlines, vinyl patch for medium, backer rod plus sealant for wide)
- Clean the slab
- Treat any rust, grease, or mildew spots
- Reseal the joint where the patio meets the house
- Reseal any empty control joints
- Set up the grill mat and bird deterrents
Two weekends, tops, for most patios.
That's the whole playbook. Some of it you'll knock out this Saturday, some of it can wait till June. A patio that gets a little attention every spring lasts decades. One that gets ignored until something goes wrong rarely makes it past 20.
Get the cracks filled, hang the wind chimes, fire up the grill. Summer here is short. Don't waste it apologizing for the way the slab looks.