Neighbor News
How to Get Furniture-Quality Wood Surfaces at Home Without a Professional Shop
Achieve furniture-quality wood surfaces at home with a spiral cutter head planer for smoother cuts, less tearout, and easier finishing.

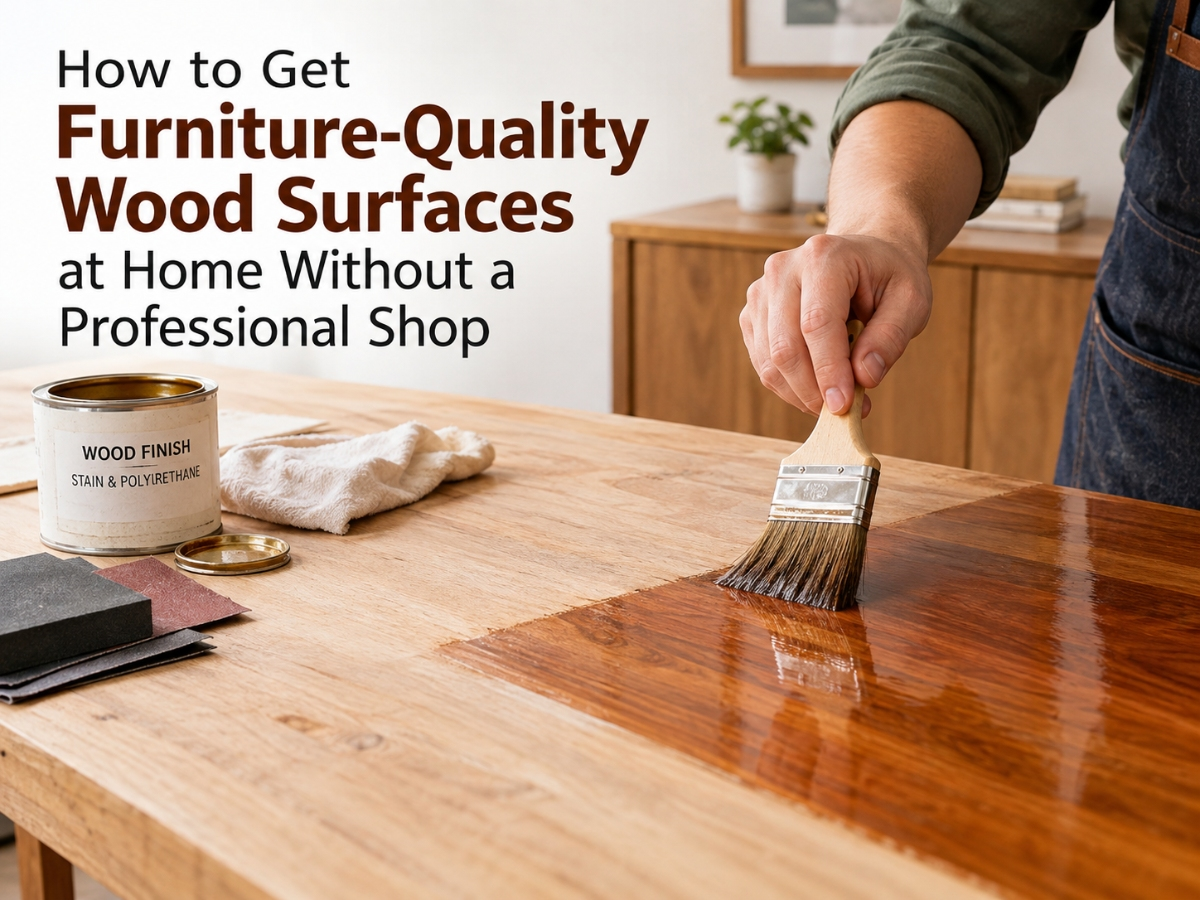
One of the most common frustrations for homeowners who build their own furniture is the gap between what they see in their head and what comes out of the workshop. The design is right, the joinery is solid, but the surfaces never quite look the way professionally made furniture does. There's a roughness, an unevenness, or a blotchy quality to the finish that gives away the fact that it was made at home rather than in a proper cabinet shop.
The good news is that the gap between home workshop results and professional shop results is smaller than most people think, and it comes down less to skill than to one specific step in the process that a lot of home woodworkers either skip entirely or don't have the right equipment for. That step is properly surfacing the lumber before you start building, and the equipment that makes the biggest difference in that step is a quality wood planer with the right cutter head.
Why Lumber From the Store Isn't Actually Ready to Use
This surprises a lot of beginners, but the lumber you pick up at a home improvement store or lumber yard is not furniture-ready, even when it's labeled as dressed or S4S (surfaced on four sides). It's close, but close isn't good enough when you're trying to achieve the kind of surface that takes finish evenly, glues cleanly, and looks genuinely polished when it's done.
Find out what's happening in East Brunswickfor free with the latest updates from Patch.
What's Actually Wrong With Store-Bought Lumber
Standard dressed lumber goes through high-speed industrial processing designed for speed and consistency across enormous volumes, not for the surface quality needed for furniture. A few specific issues show up regularly:
- Mill marks and skip planing. High-speed industrial planing often leaves subtle ripples or areas where the planer didn't fully contact the board, visible once stain or finish is applied
- Moisture-related movement. Lumber continues to move after milling as it adjusts to the humidity of your local environment, which means boards that were flat when they left the mill may have cupped, bowed, or twisted by the time you use them
- Surface inconsistency. Two boards from the same bundle can have slightly different surface conditions that cause them to take stain differently, creating visible inconsistency in a finished tabletop or panel
Running store-bought lumber through a planer before use, even if you're not changing the thickness significantly, addresses all of these issues by giving you a fresh, consistent surface on your own terms immediately before you build.
Find out what's happening in East Brunswickfor free with the latest updates from Patch.
The Planer's Role in Furniture-Quality Results
A wood planer's job is to shave material from one face of a board to create a surface that is flat, smooth, and parallel to the opposite face. Used correctly, it is the single most impactful tool for surface quality in a furniture workflow, because every subsequent step, glue-up, finishing, the way joints close up, depends on starting with genuinely flat, genuinely smooth stock.
What Good Planning Actually Achieves
When lumber has been properly planed immediately before use, several things happen that directly affect the final result:
The surface is fresh and open, meaning it absorbs stain and finish evenly rather than showing the blotchy inconsistency that results from applying finish to a surface that's partly oxidized or contaminated from sitting in storage. Glue joints close more completely when mating surfaces are truly flat, producing stronger joints and tighter glue lines that are less visible in the finished piece. And dimensions are genuinely accurate, which matters more than most beginners expect when you're fitting joints and assembling a project.
Why the Cutter Head Changes Everything
Not all planers produce the same surface quality on the same lumber, and the primary variable that explains the difference is the cutter head. This is the rotating cylinder at the heart of the planer that actually does the cutting, and the design of that cylinder determines how it handles variations in grain direction, knots, and the kind of figure that makes wood beautiful but also makes it challenging to machine.
Traditional straight knife planers use long blades that run the full width of the machine and engage the entire board simultaneously. On cooperative, straight-grained wood, this works adequately. On anything with grain that changes direction, wood with figure, or even denser domestic hardwoods like hard maple and white oak, straight knives have a tendency to tear fibers rather than slice them cleanly, leaving rough patches called tearout that have to be sanded away before the surface is usable.
Why Spiral Cutter Heads Produce Better Results for Home Furniture
A spiral cutter head replaces the long straight knives with dozens of small, individual carbide cutting inserts arranged in a helical pattern around the cylinder. The geometry of this design changes the cutting action in a way that matters significantly for furniture-quality results.
The Shearing Advantage
Because the inserts are arranged in a spiral and each one only contacts a small section of the board at any given moment, the cut happens as a gradual shearing action rather than a full-width impact. This shearing geometry handles grain irregularities far more gracefully than a straight knife. Where a straight knife hits a patch of reversing grain and tears it, a spiral cutter head's insert slices past it without disrupting the adjacent cut.
For home furniture builders working with the species that make the most visually interesting furniture, this matters considerably. Figured maple, quartersawn oak, walnut with character, cherry with the subtle curl that appears in quality boards, all of these wood types can challenge a straight knife planer enough to require significant additional sanding. Off a well-set spiral cutter head, the same boards often come out needing little to no sanding before they're ready for finish.
Noise That Won't Drive Your Neighbors (or Family) Crazy
For anyone running a workshop in a garage, basement, or backyard outbuilding in a suburban neighborhood, the noise profile of your equipment is a real practical consideration. Standard planers with straight knife cutter heads are among the louder tools in the workshop because the full-width blade impact creates a sharp, repeating percussion sound at high frequency.
Spiral cutter heads run noticeably quieter because the distributed, shearing engagement of multiple small inserts produces a smoother sound rather than repeated full-width impacts. This is one of the more unexpected benefits that home woodworkers discover after upgrading, and it consistently shows up as a meaningful quality-of-life improvement for people who work in shared or noise-sensitive environments.
Maintenance That Fits a Weekend Schedule
Straight knife planers require periodic blade removal, sharpening, and careful reinstallation with precise height alignment across the full blade length. Getting this right requires some skill and the right setup tools, and getting it wrong means uneven cutting depth or chatter marks across the surface. The machine is also out of commission while blades are being sharpened, which for a professional shop is a planned downtime but for a weekend woodworker means a project stops.
Spiral cutter head maintenance works differently. When an insert gets dull, you rotate it to a fresh edge using a hex key, which takes a few minutes and requires no special skill or alignment procedure. When all edges on an insert are used up, you replace that individual insert. The machine stays assembled and aligned throughout, and the process is simple enough that many woodworkers do it between sessions rather than dedicating a maintenance day to it.
Getting the Most From Your Planer Setup
Having the right equipment is the foundation, but a few practices in how you use it make the difference between good results and great ones.
Always Joint Before You Plane
A planer creates two parallel faces but cannot flatten a cupped or twisted board on its own because it references off whichever face is down on the infeed table. If that face is curved, the planer will follow that curve and produce a board of consistent thickness that's still not flat. Jointing one face flat first, then running that flat face down through the planer, is the correct sequence for producing genuinely flat, furniture-ready stock.
Take Light Passes
Particularly with a spiral cutter head, light passes produce better results than aggressive ones. Taking off a sixteenth of an inch per pass rather than an eighth gives the inserts a better cutting angle, reduces the load on the motor, and produces a cleaner surface. You'll make more passes, but each one will leave a better surface and the overall process will actually be faster because you'll need less sanding afterward.
Let the Lumber Acclimate
Bringing lumber into your workspace and letting it sit for a few days before milling gives the wood time to adjust to your shop's humidity and temperature. Lumber that has acclimated before milling is less likely to move after you've surfaced it, meaning your flat, smooth boards stay flat and smooth through the rest of the build.
Making the Investment Work
A quality spiral cutter head planer represents a meaningful upfront investment for a home workshop, but it's the kind of tool purchase that changes the quality of every project you build going forward rather than solving a single problem. The improvement in surface quality, the reduction in sanding time, and the ability to work with figured and character wood without fighting tearout compounds across every project for the life of the machine.
Sheartak manufactures spiral cutter head systems built for the consistent insert quality and long-term performance that home woodworkers need from equipment they'll use for years, giving weekend builders access to the same cutting technology that professional cabinet shops rely on for reliable, furniture-quality results. If the surfaces on your home furniture projects have been the one thing that doesn't quite match your vision for the finished piece, this is the part of the process worth addressing first.