
I came across this pitiful rocking chair at an estate sale. It was in the garage, which meant it didn't have much value to the owners, but to me it had presented a challenge, so I had to have it. No doubt about it. This chair was ugly! More than just ugly, it had
been filthy dirty, smelled musty and moldy and had been covered with spider eggs. I wouldn't even attempt to sit in it, because it was so nasty-looking. After closer inspection, I made an interesting discovery. This was no ordinary chair; it was a Windsor-style spring rocking chair, likely an antique that had gotten re-covered with the yellow fabric sometime in the 1970's. Underneath the
skirting were two springs on either side of the chair, so that while all the legs touched the ground, the chair had a gentle swivel and rocked easily back and forth. This added new value to my little gem. After I paid for my chair, a nice gentleman had offered to carry it to my van and after placing it inside, I closed the back and headed home for a closer inspection.
Find out what's happening in St. Clair Shoresfor free with the latest updates from Patch.
Indeed, there were many spider eggs and spiders crawling all over the stained gold corduroy fabric. Immediately I pulled out my shop vac and thoroughly cleared the debris and spider eggs. Goodbye, spiders! (I hate spiders!) Then I assessed what would have to be done to bring this chair back to life. Since it had looked like it once belonged on the set of "The Brady Bunch" I knew this chair needed a brand new seat cushion and rear cushion as well as new skirting along the bottom. I had originally planned on simply washing the cushion and re-covering it with new fabric, but after washing it, the musty smell remained, therefore I had to take it all apart. I sighed, but got to work, first removing the nasty, smelly foam stuffing from both the seat and rear cushions. This was incredibly messy as I got the stuffing all over myself and my living room! Once I was satisfied I'd removed as much stuffing as possible, I cut apart the pieces to make patterns for my new fabric, a soft brown with a suede-like feel. It was on clearance at Joann's and perfect for my chair.
The back of the chair had three straps which were connected to screw snaps on the underside of the top. These snaps held the cushion into place. I liked the idea, so I decided to keep them. I then set about making a brand new seat, but was able to use the original cording, which was made of a bendable, hard plastic, not commonly used nowadays. It had lent itself well to the curves which went around the arms of the chair inside both top and bottom piping. Making this cushion had proven to be quite a challenge as I had to follow the tight curve as well as keep the cording taut against the edge of the seat. After I thought I had gotten it all together, to my disappointment, I discovered the top didn't line up with the bottom and I had to take the entire cushion apart! AARRG! My frustration grew and I became impatient, so I had to walk away from the cushion and do something else for a while, so I went into the garage and began sanding the wood. I had removed the old webbing, which consisted of plastic that is customarily used in lawn chairs; not at all appropriate for a chair such as this one. It was also gold, matching the hideous fabric and it was sagging. It had to go. Once I had gotten the entire chair sanded, it was ready for staining. I chose a dark walnut stain and it proved to be the correct choice as the chair had gleamed.
Find out what's happening in St. Clair Shoresfor free with the latest updates from Patch.
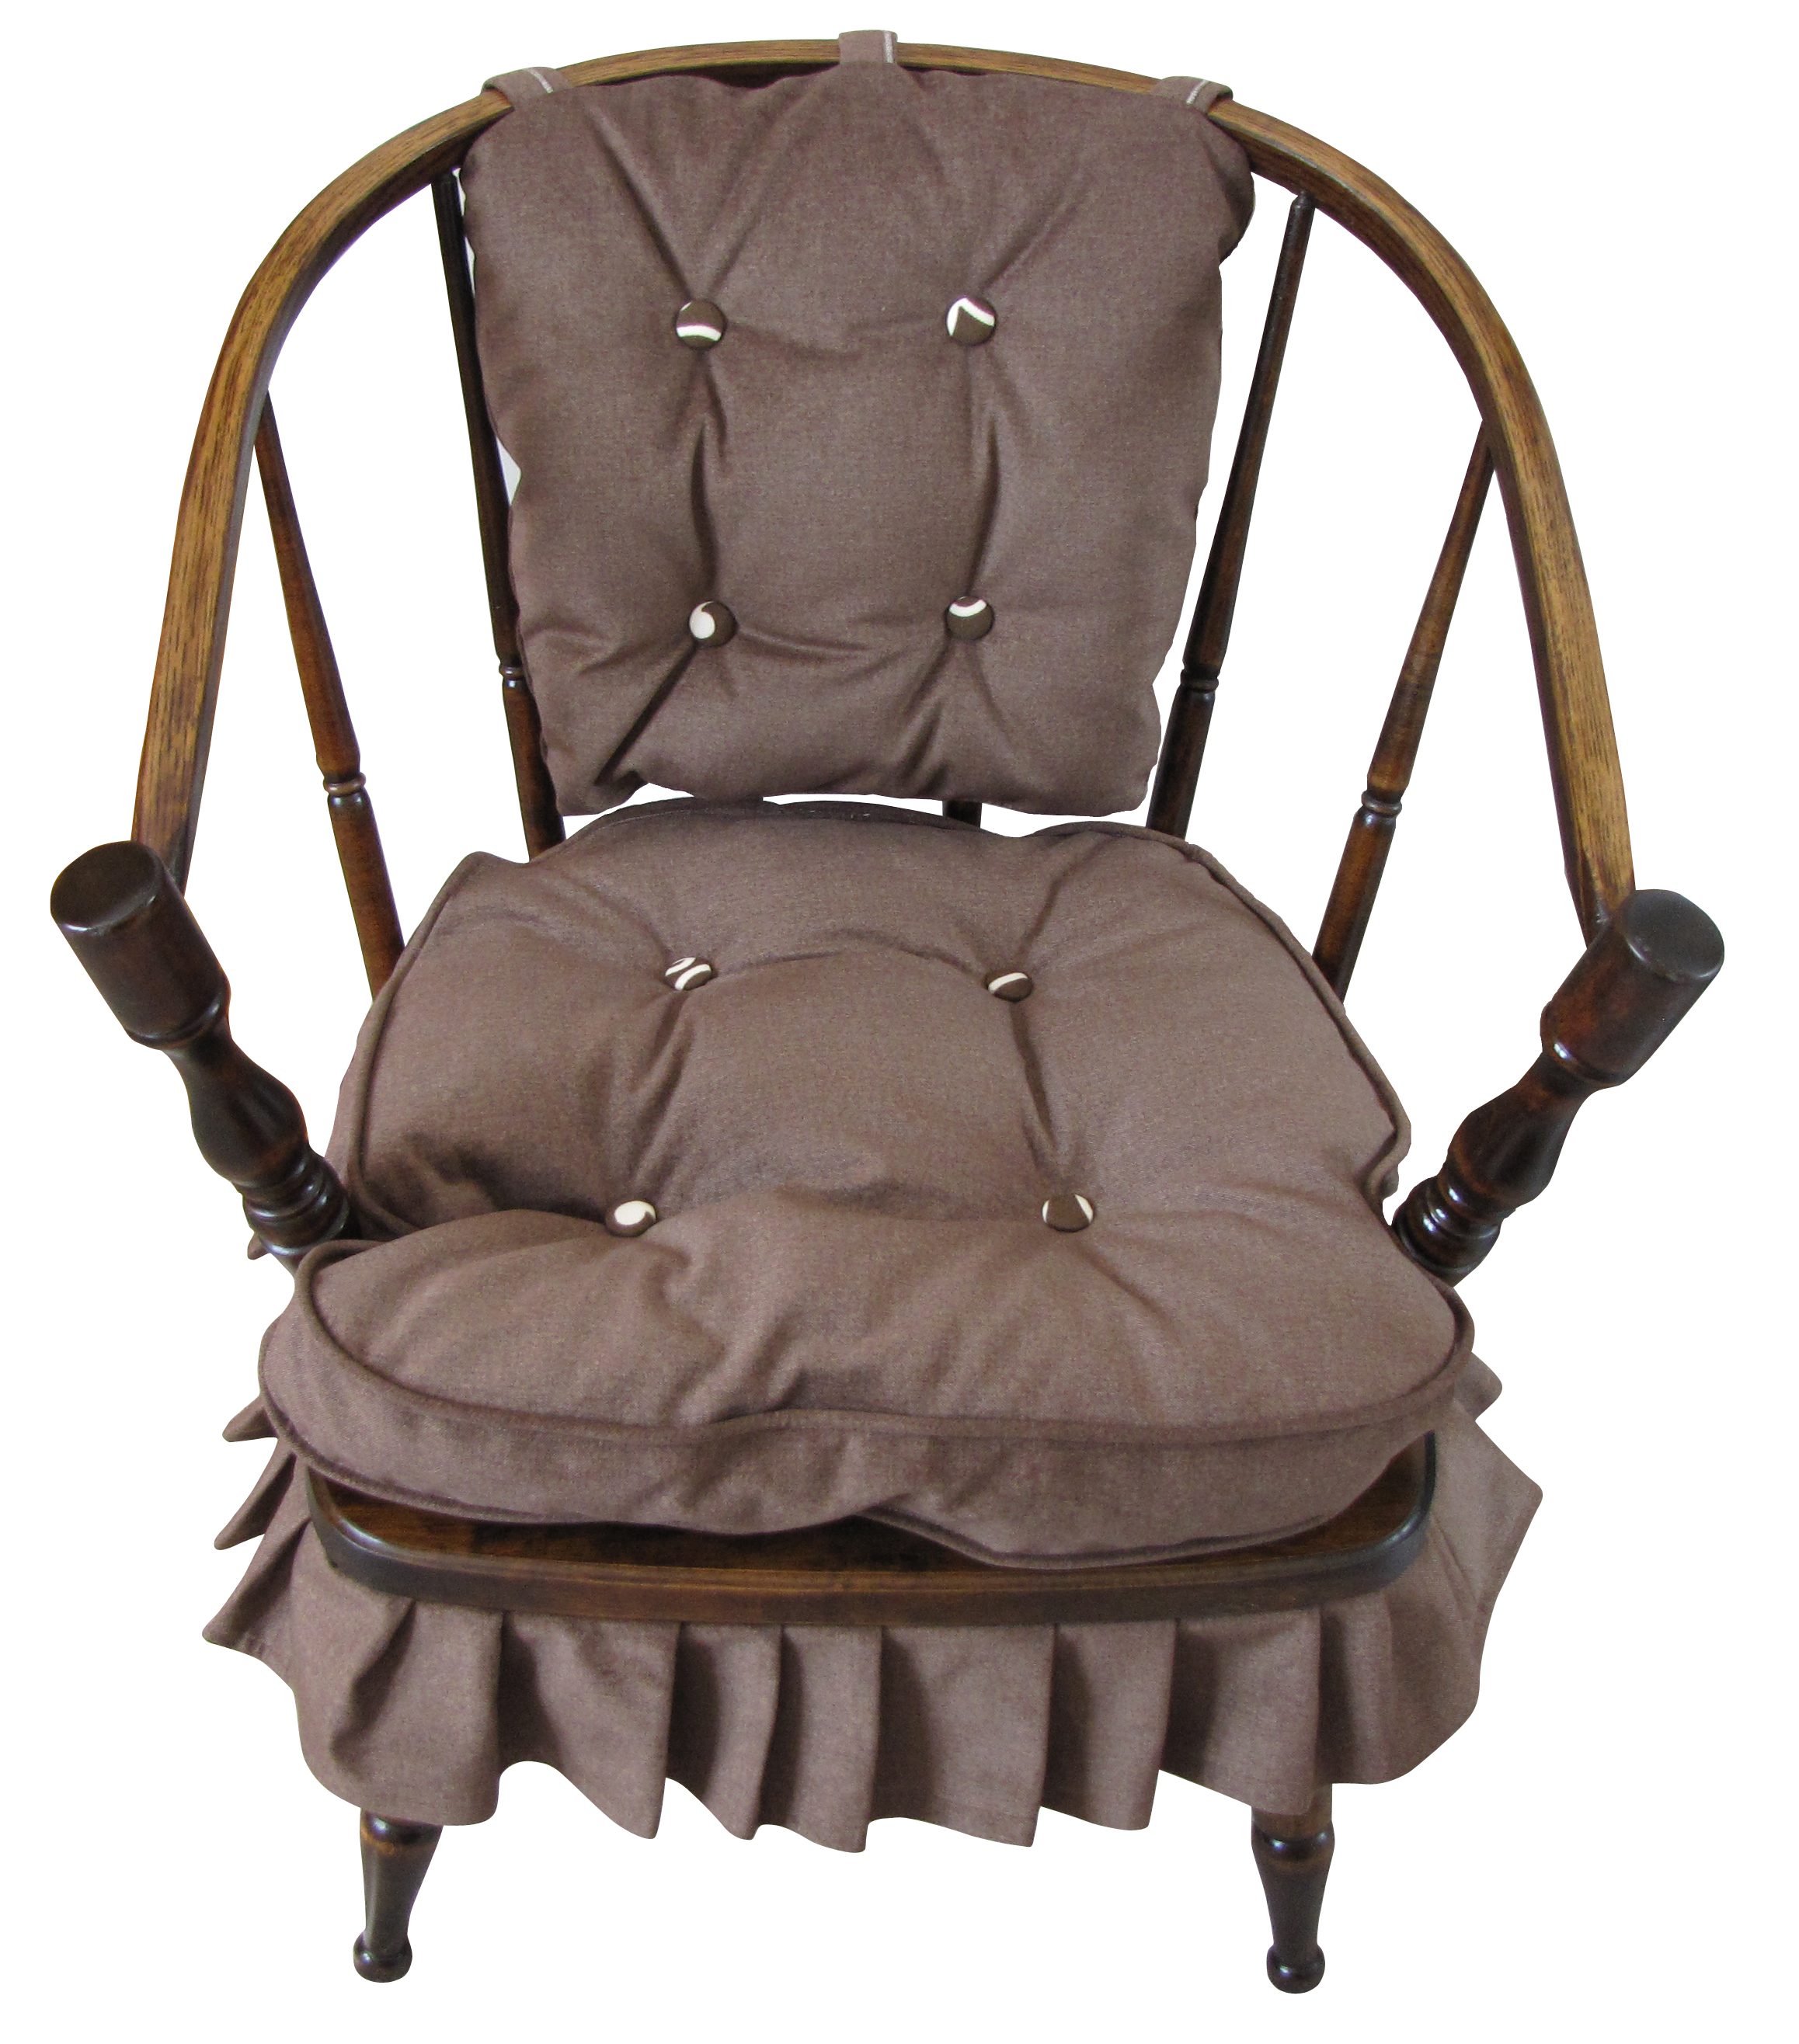
The next day I returned to my cushion, and after struggling with the cording, I finally got it together and finished it, satisfied with the overall results. Next I'd needed to make custom fabric buttons, but soon discovered the fabric I'd chosen for the cushions was too thick to wrap around the metal buttons, so I elected to use a contrasting fabric with a brown and beige swirl pattern. This fabric was much better suited to the buttons, so I made sixteen of them, eight for each cushion. Next, I tackled the rear seat.
Once both cushions were done, I hand-stitched the buttons to the cushions, pulling them through the layers of foam for the bottom, which was extremely difficult to do. I had to use an extra long needle and had poked my fingers numerous times before the job was done. The upper cushion was easier because I chose to use fiber-fill, a much softer way to fill the cushion. Once both cushions were done, I nailed the new webbing into place underneath the seat and began attaching the skirting, which had required approximately three yards of fabric. I had serged all the edges, then had applied tack nails to the underside, attaching the skirting to the chair. It was a long, tedious process, because I had to line up the ends and pleat as I nailed the tacks into place. After over two hours of careful nailing, the chair was finished! I then steam ironed the pleats and put the cushions in place.
My once ugly rocking chair had taken on a brand new look. Gone was the musty-smelling gold corduroy of 1970 and in was the new, plush fabric of the 21st Century! The chair had good bones and now it has new cushions and skirting.